
First steps — set up PressCal the right way
PressCal works with your numbers — your machines, your papers, your rates. Spend half an hour setting it up in the right order, and from then on every quote takes seconds instead of a spreadsheet session.
This guide walks you through the first-day setup, step by step.
1. Get to know your dashboard
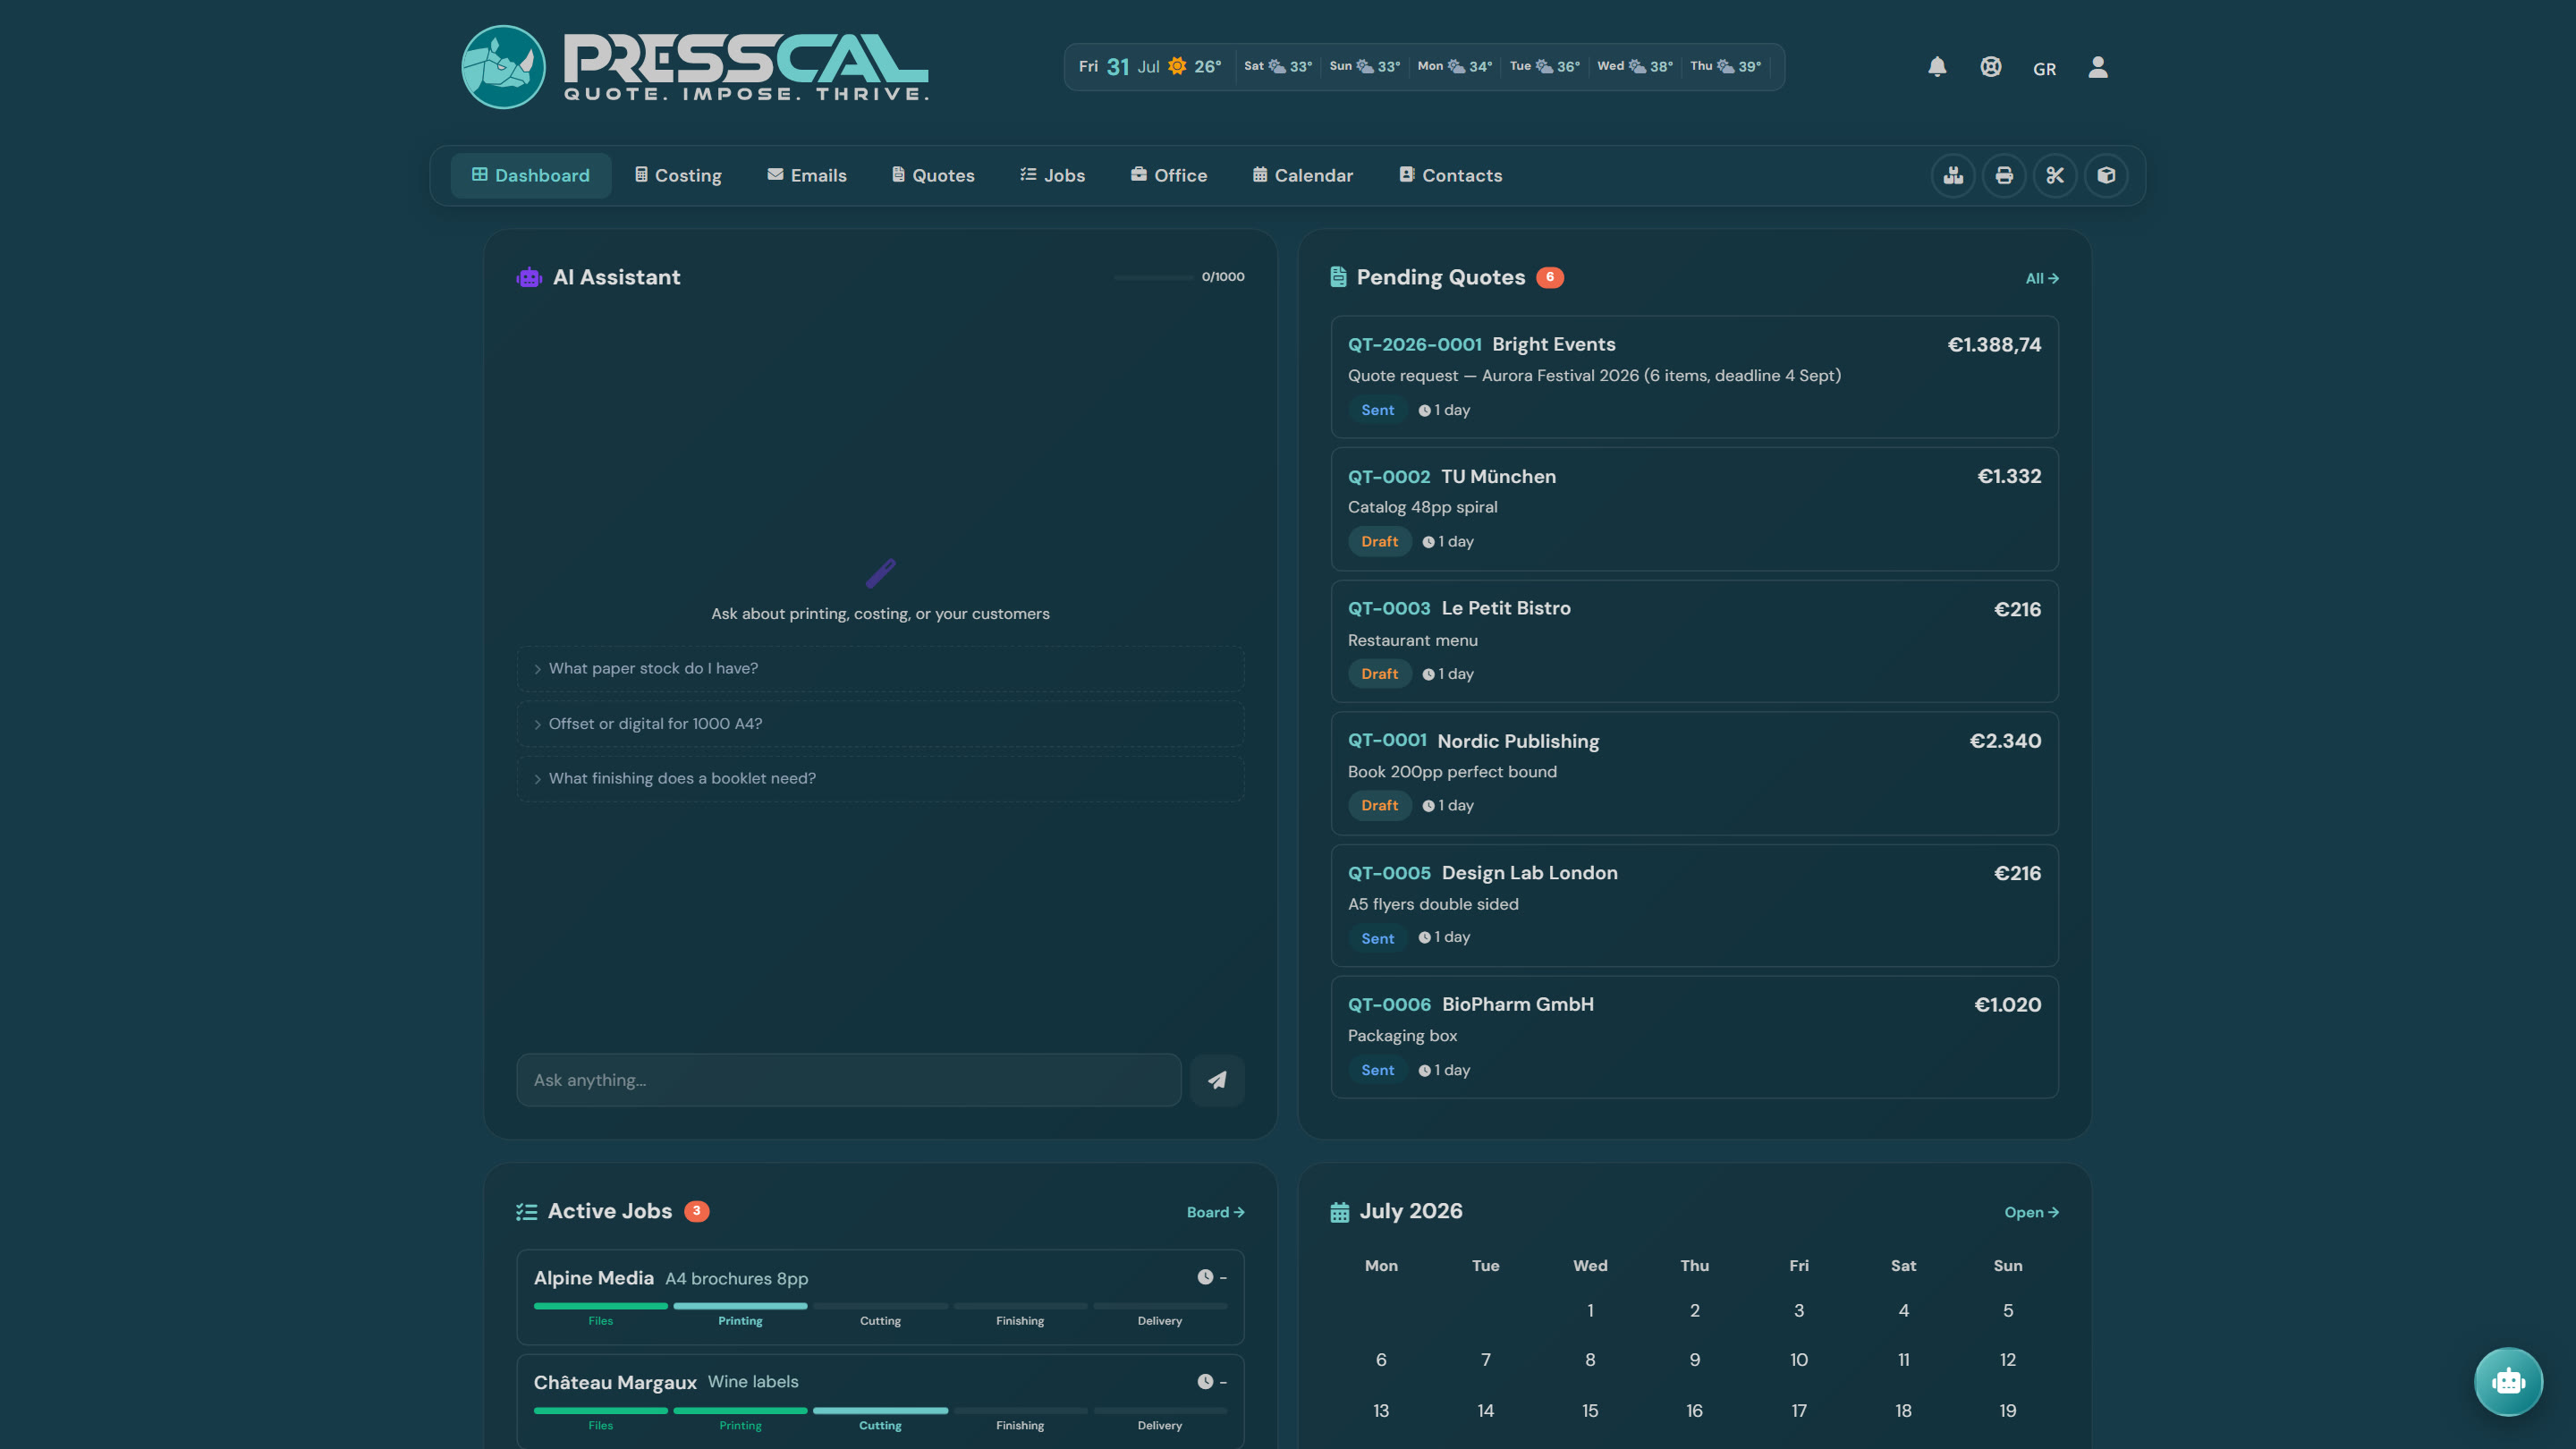
After signing in you land on the Dashboard: pending quotes on the right, active jobs with their production stage below, this month's calendar, and the AI assistant on the left — ask it about printing, costing or your customers at any time.
The top bar is your map: Costing (the calculator), Emails, Quotes, Jobs, Office, Calendar, Contacts, plus the icon shortcuts for Inventory, Machines, Postpress and Products.
2. Company details (5 min)
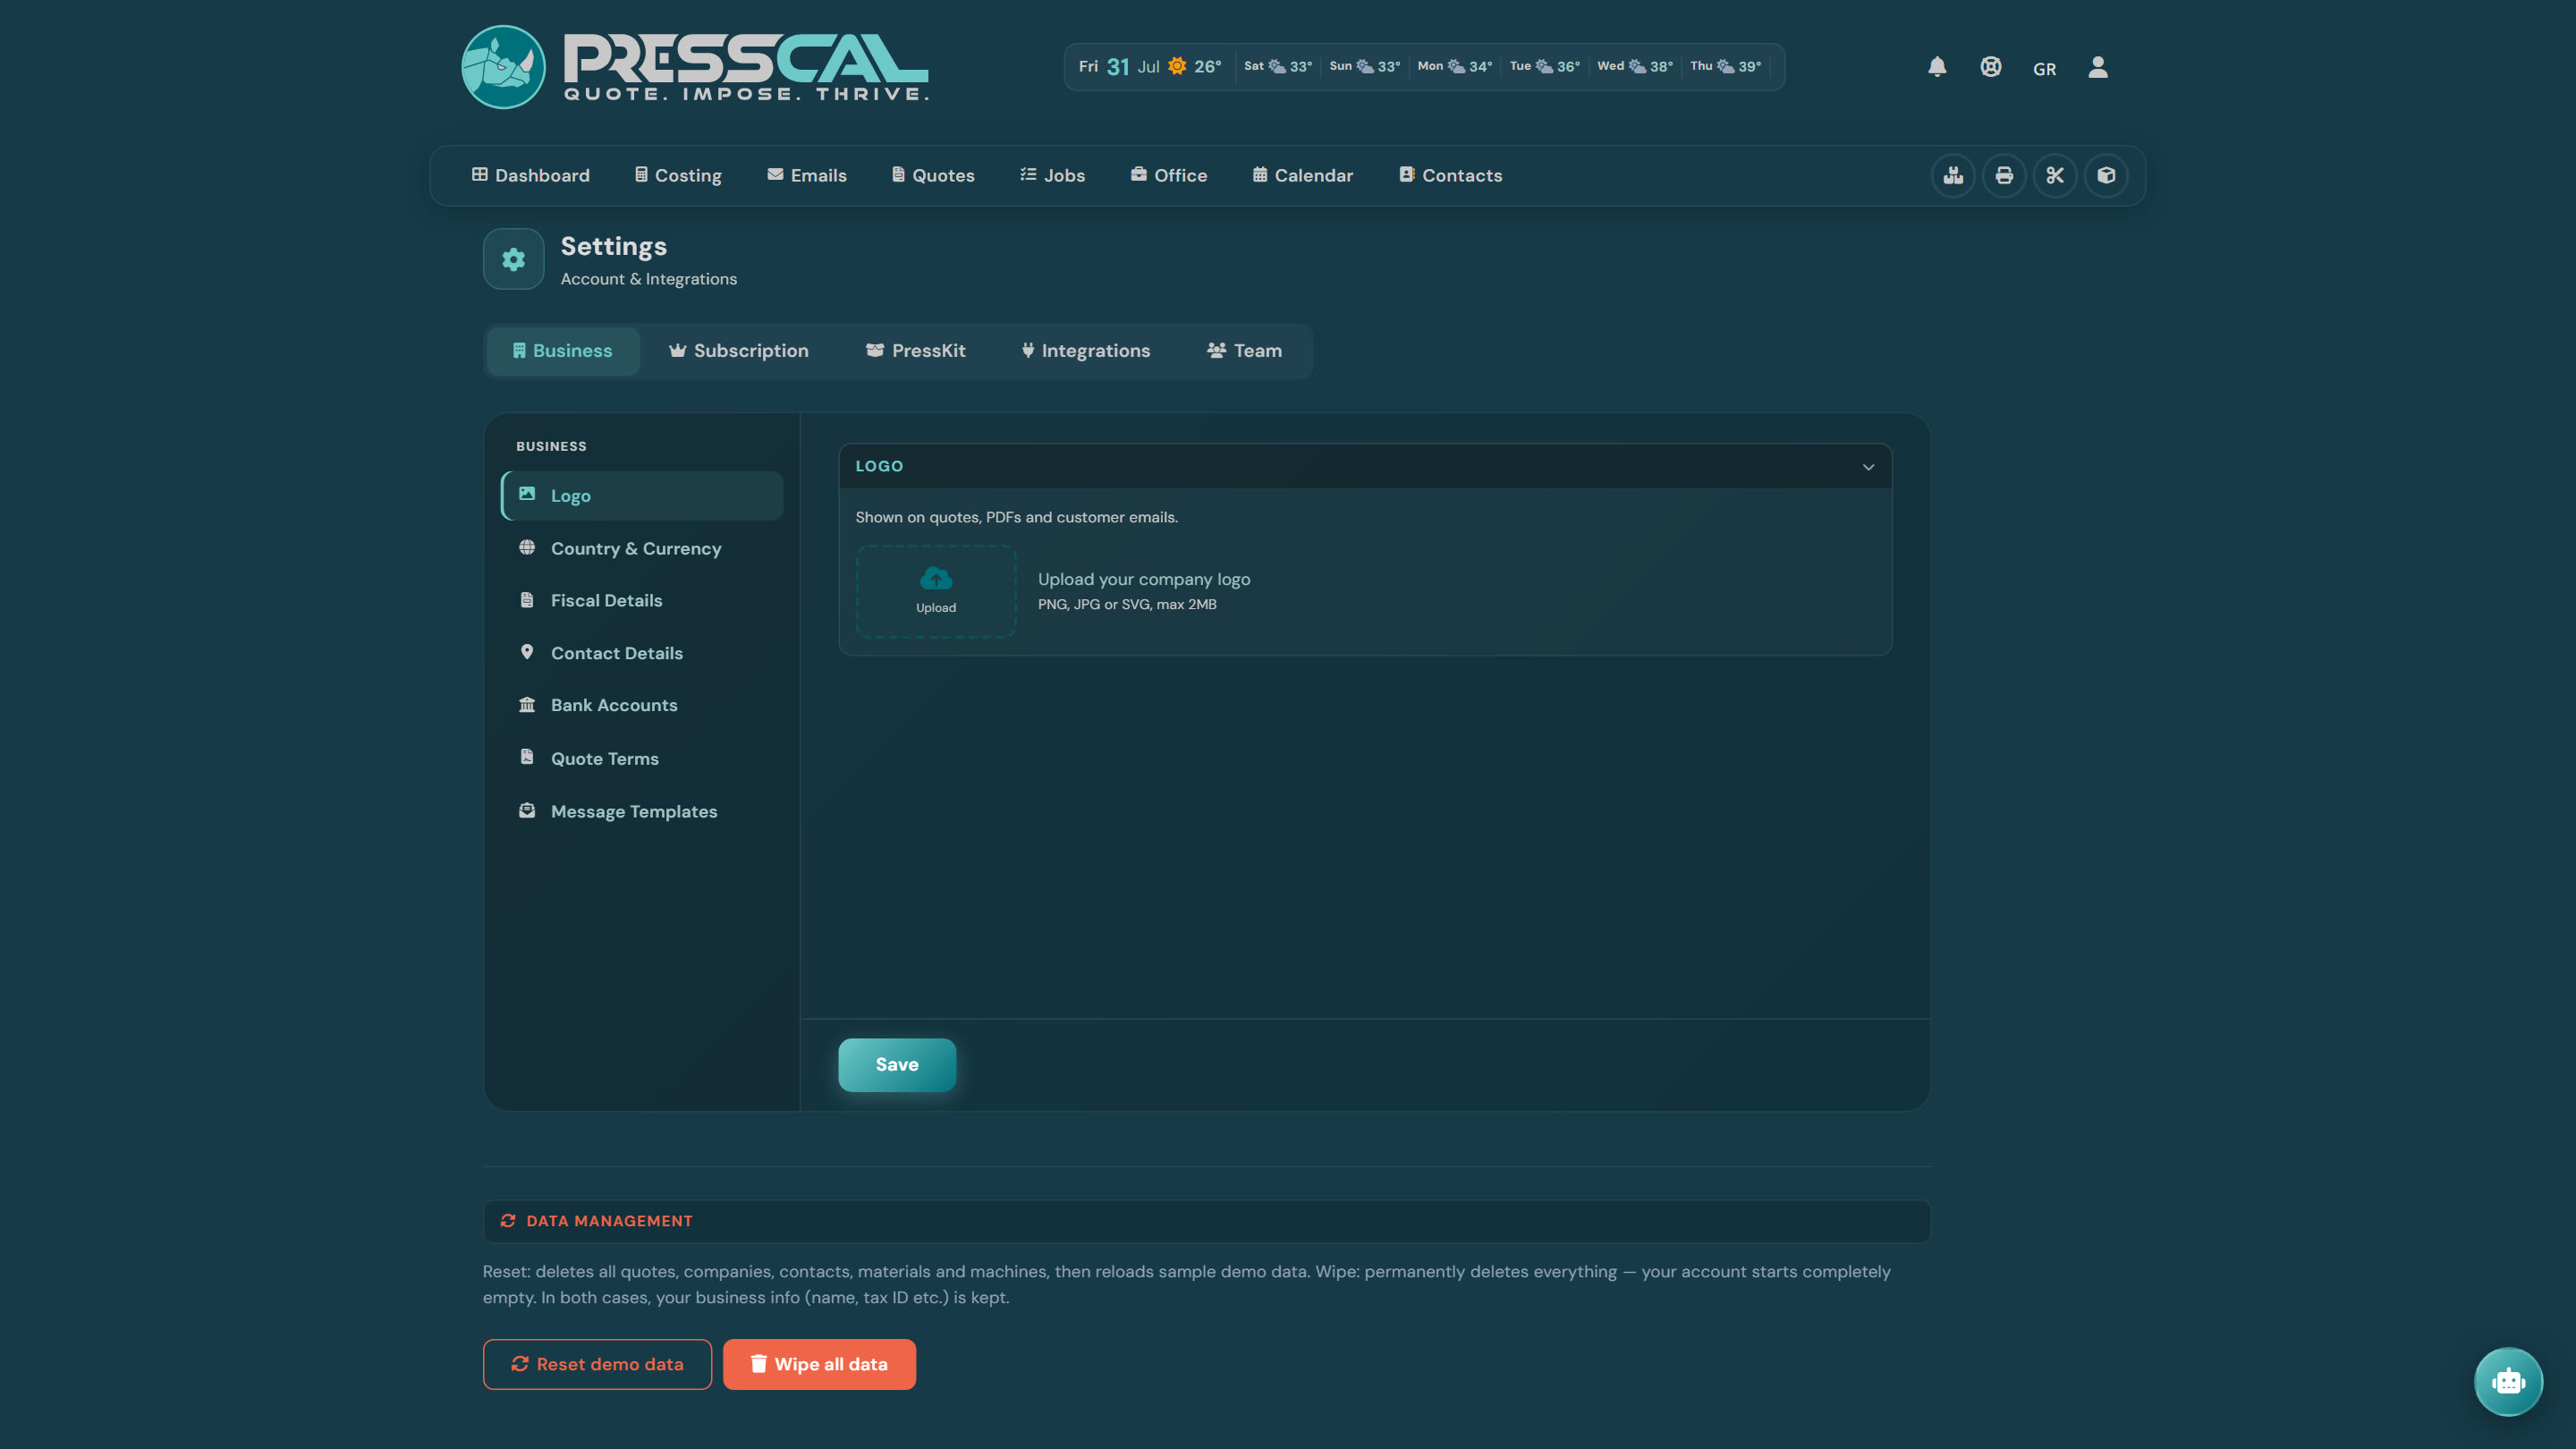
Settings → Business. Upload your logo and fill in your company name, country & currency, tax details and contact info. These appear on the header of every quote you send — worth getting right before the first one goes out.
3. Add your machines (10–15 min per machine)
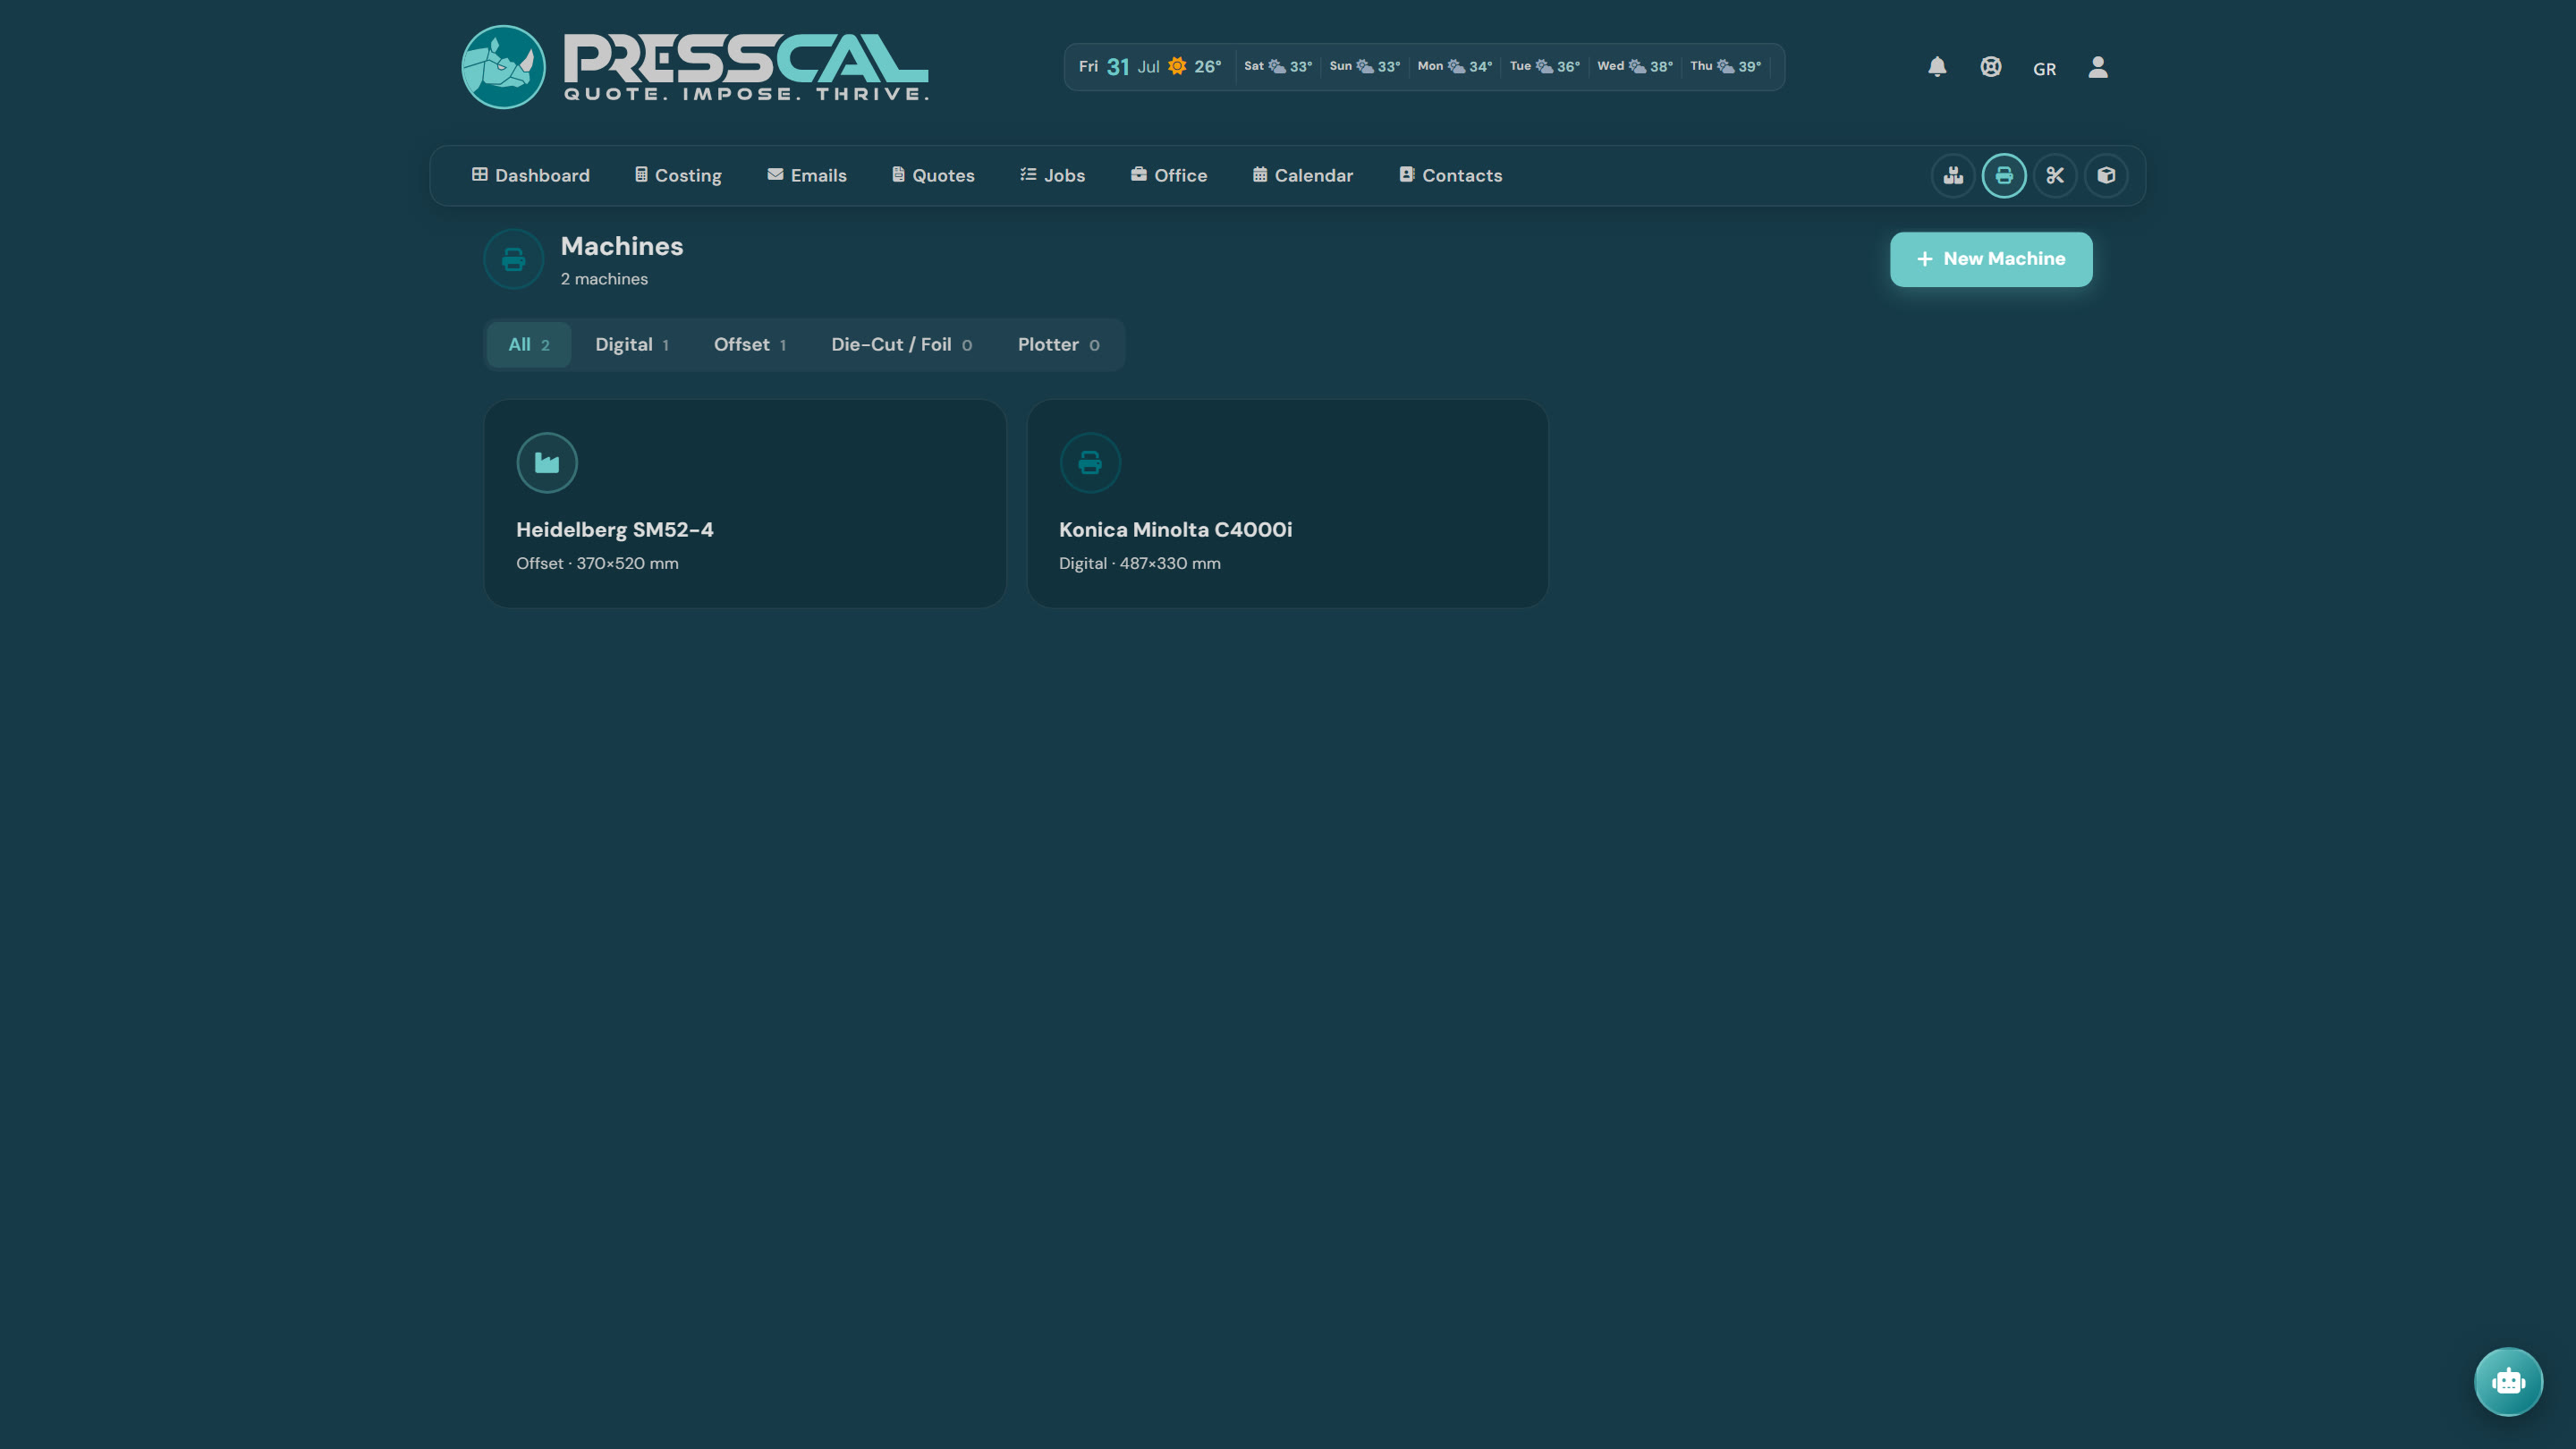
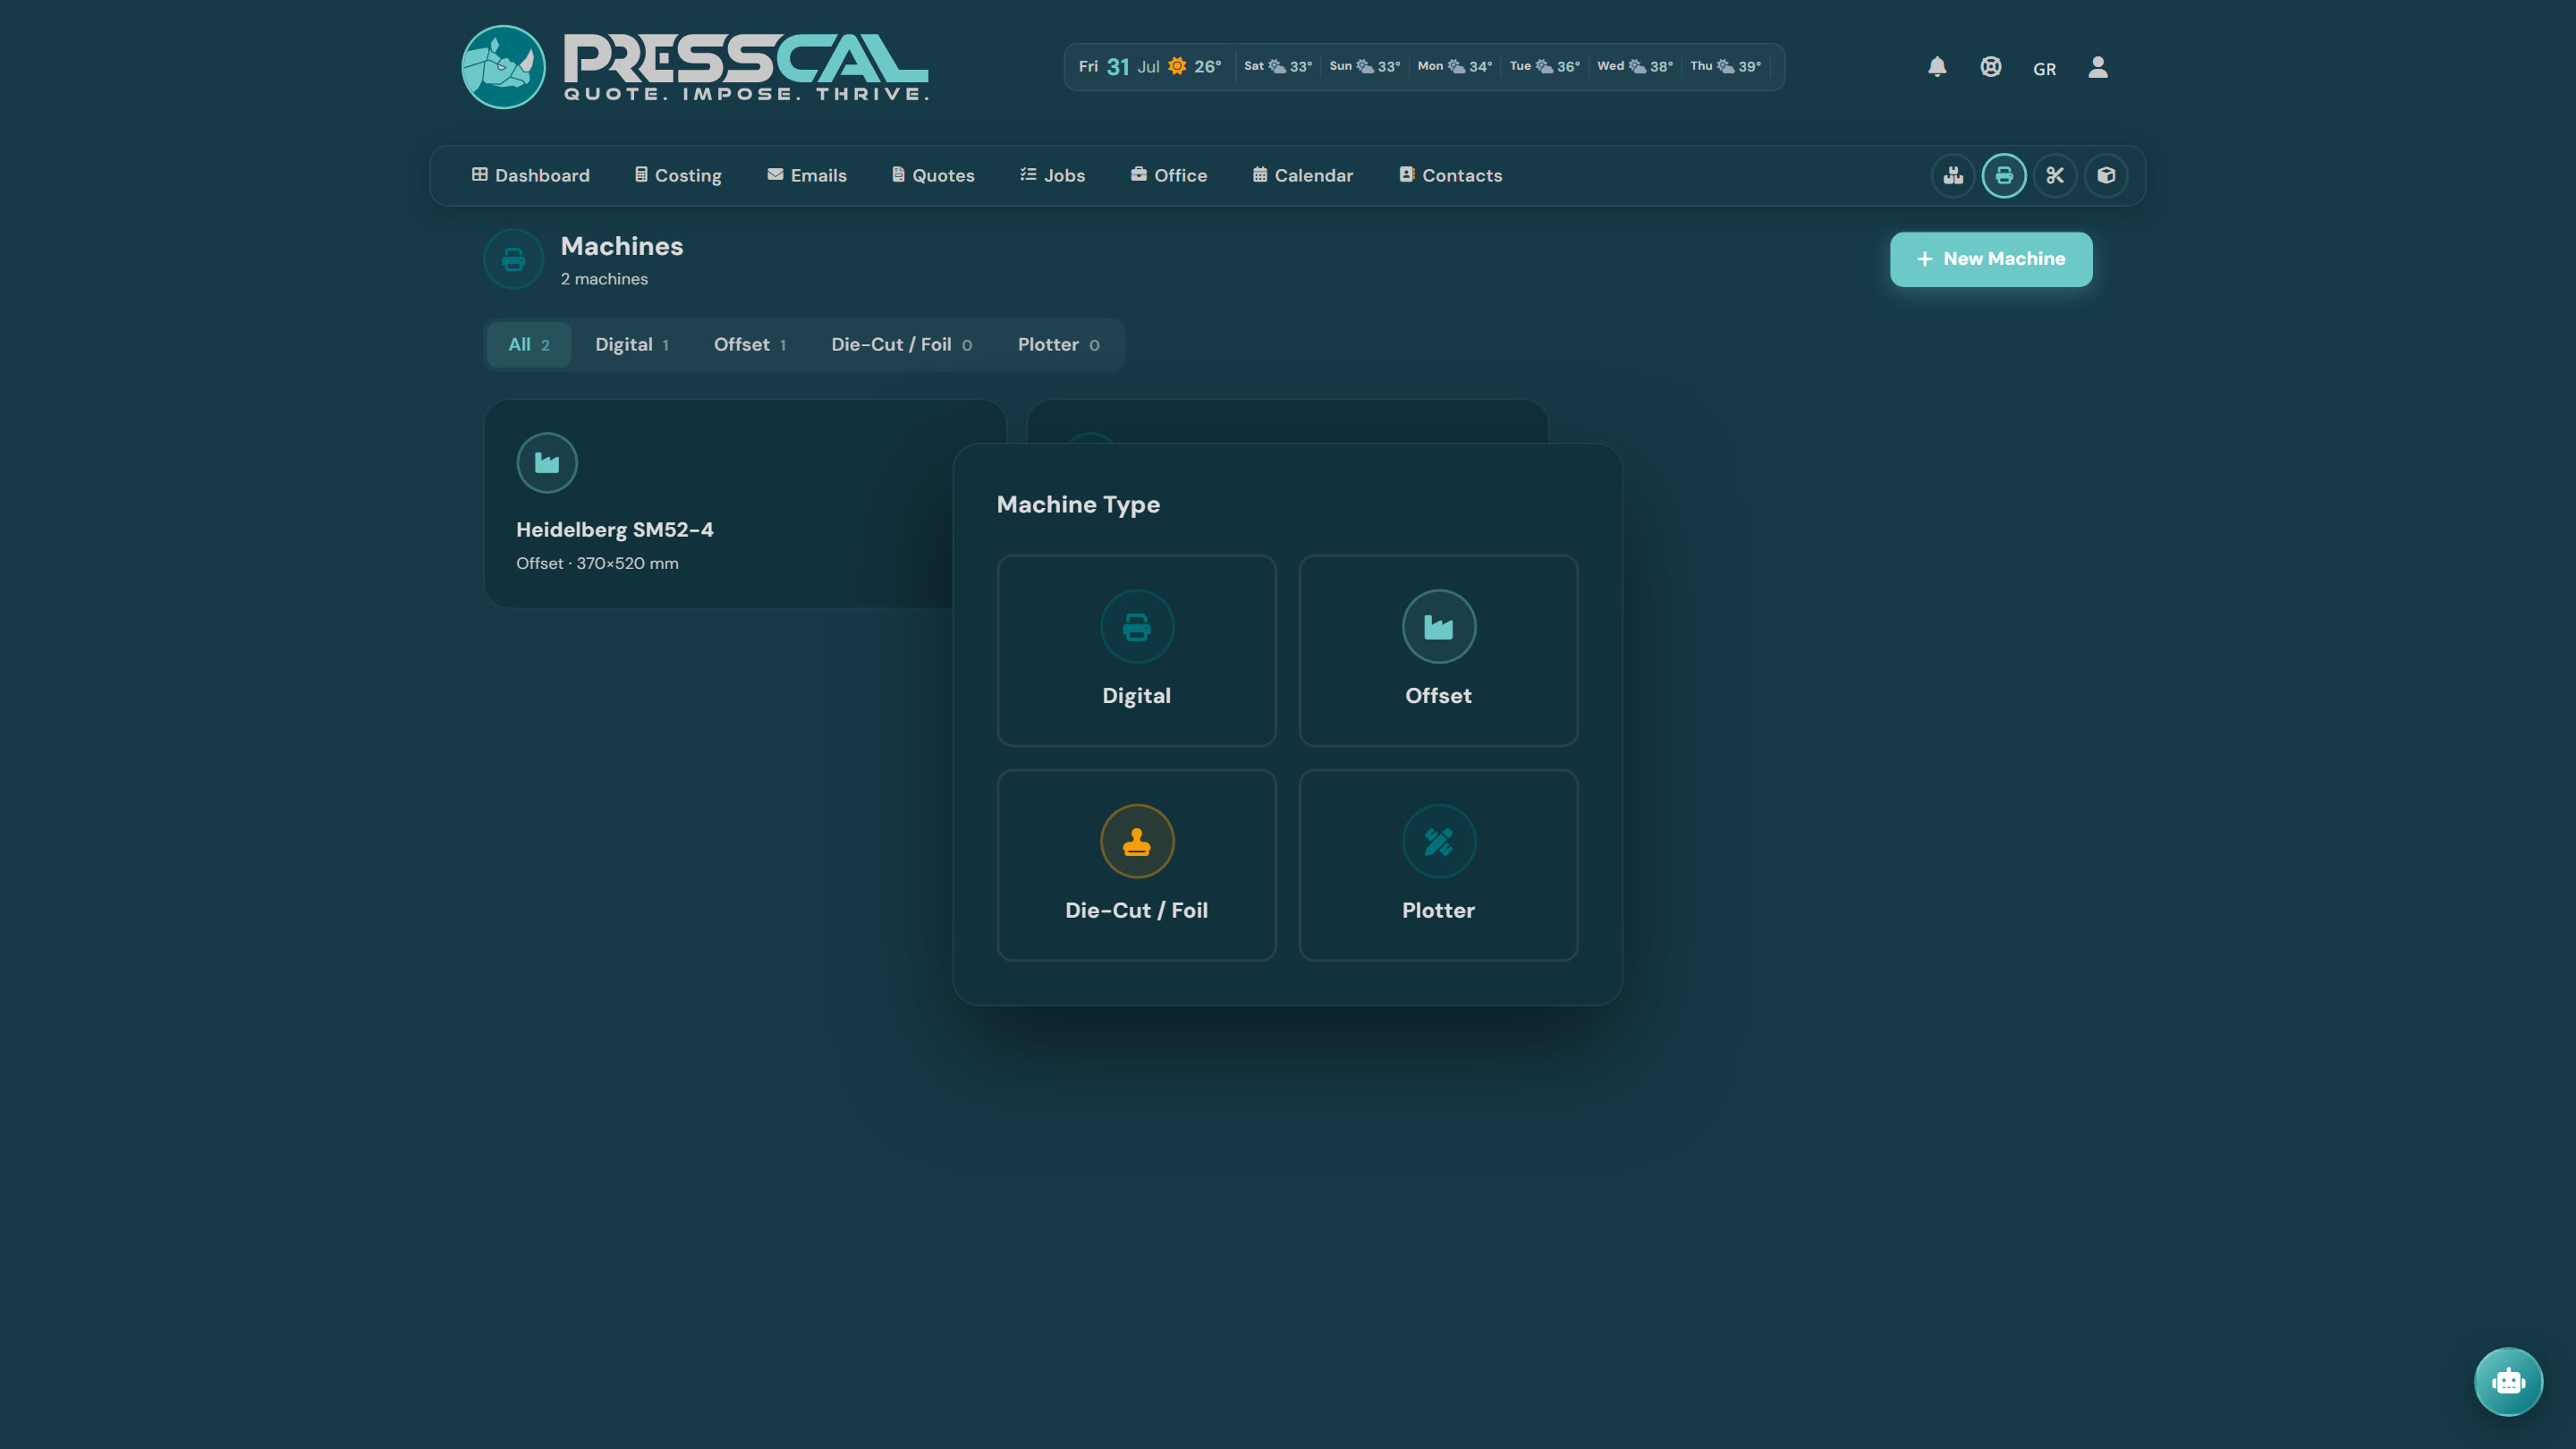
Machines → New Machine. Pick the machine type and a step-by-step wizard takes it from there:
A tip that saves real time: at the "Model" step, type your machine's model (e.g. "Konica Minolta C3080") and hit AI Scan — PressCal fills in the technical specs for you, and you just review them. The only thing you enter yourself is your own costs (click charge, plates, service), because nobody knows those better than you.
Start with the machine that does most of your work — you can add the rest whenever.
4. Post-press equipment (10 min)
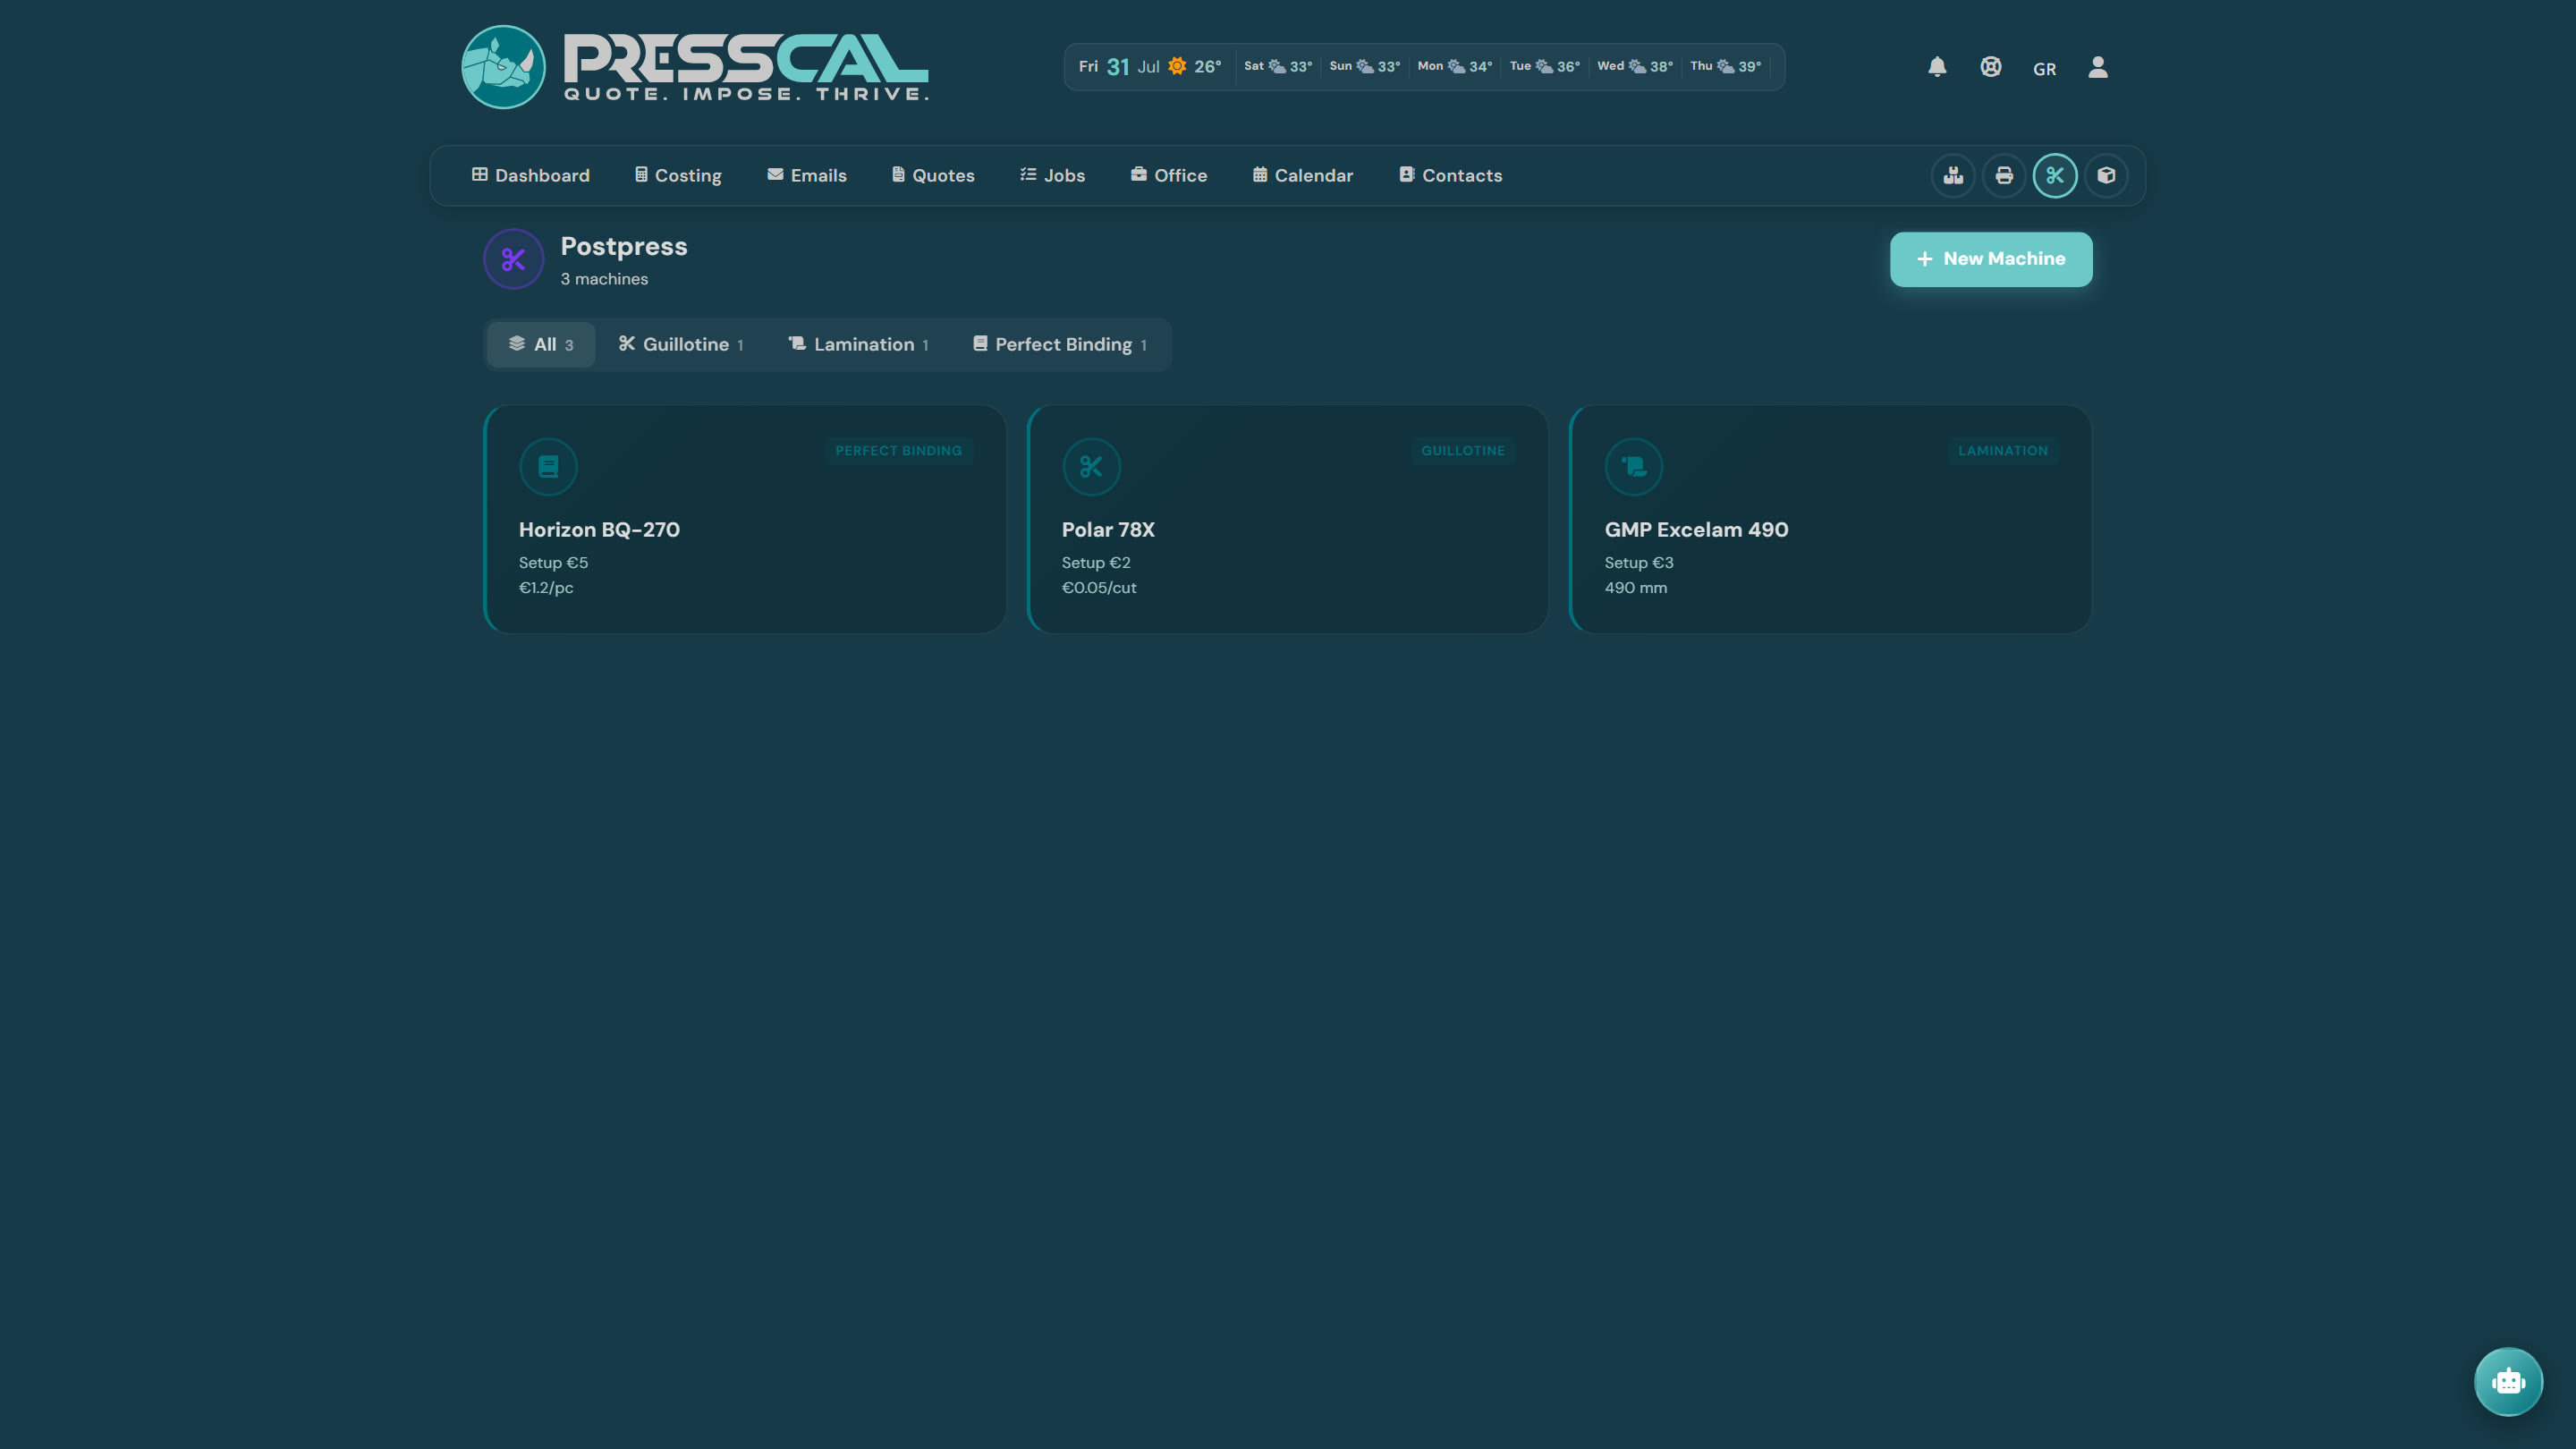
Postpress. Declare what finishing you do and how you charge for it: guillotine, lamination, folding, creasing, binding. From then on, when you tick "matt lamination" in a costing, the charge is applied automatically.
5. Your papers (10 min)
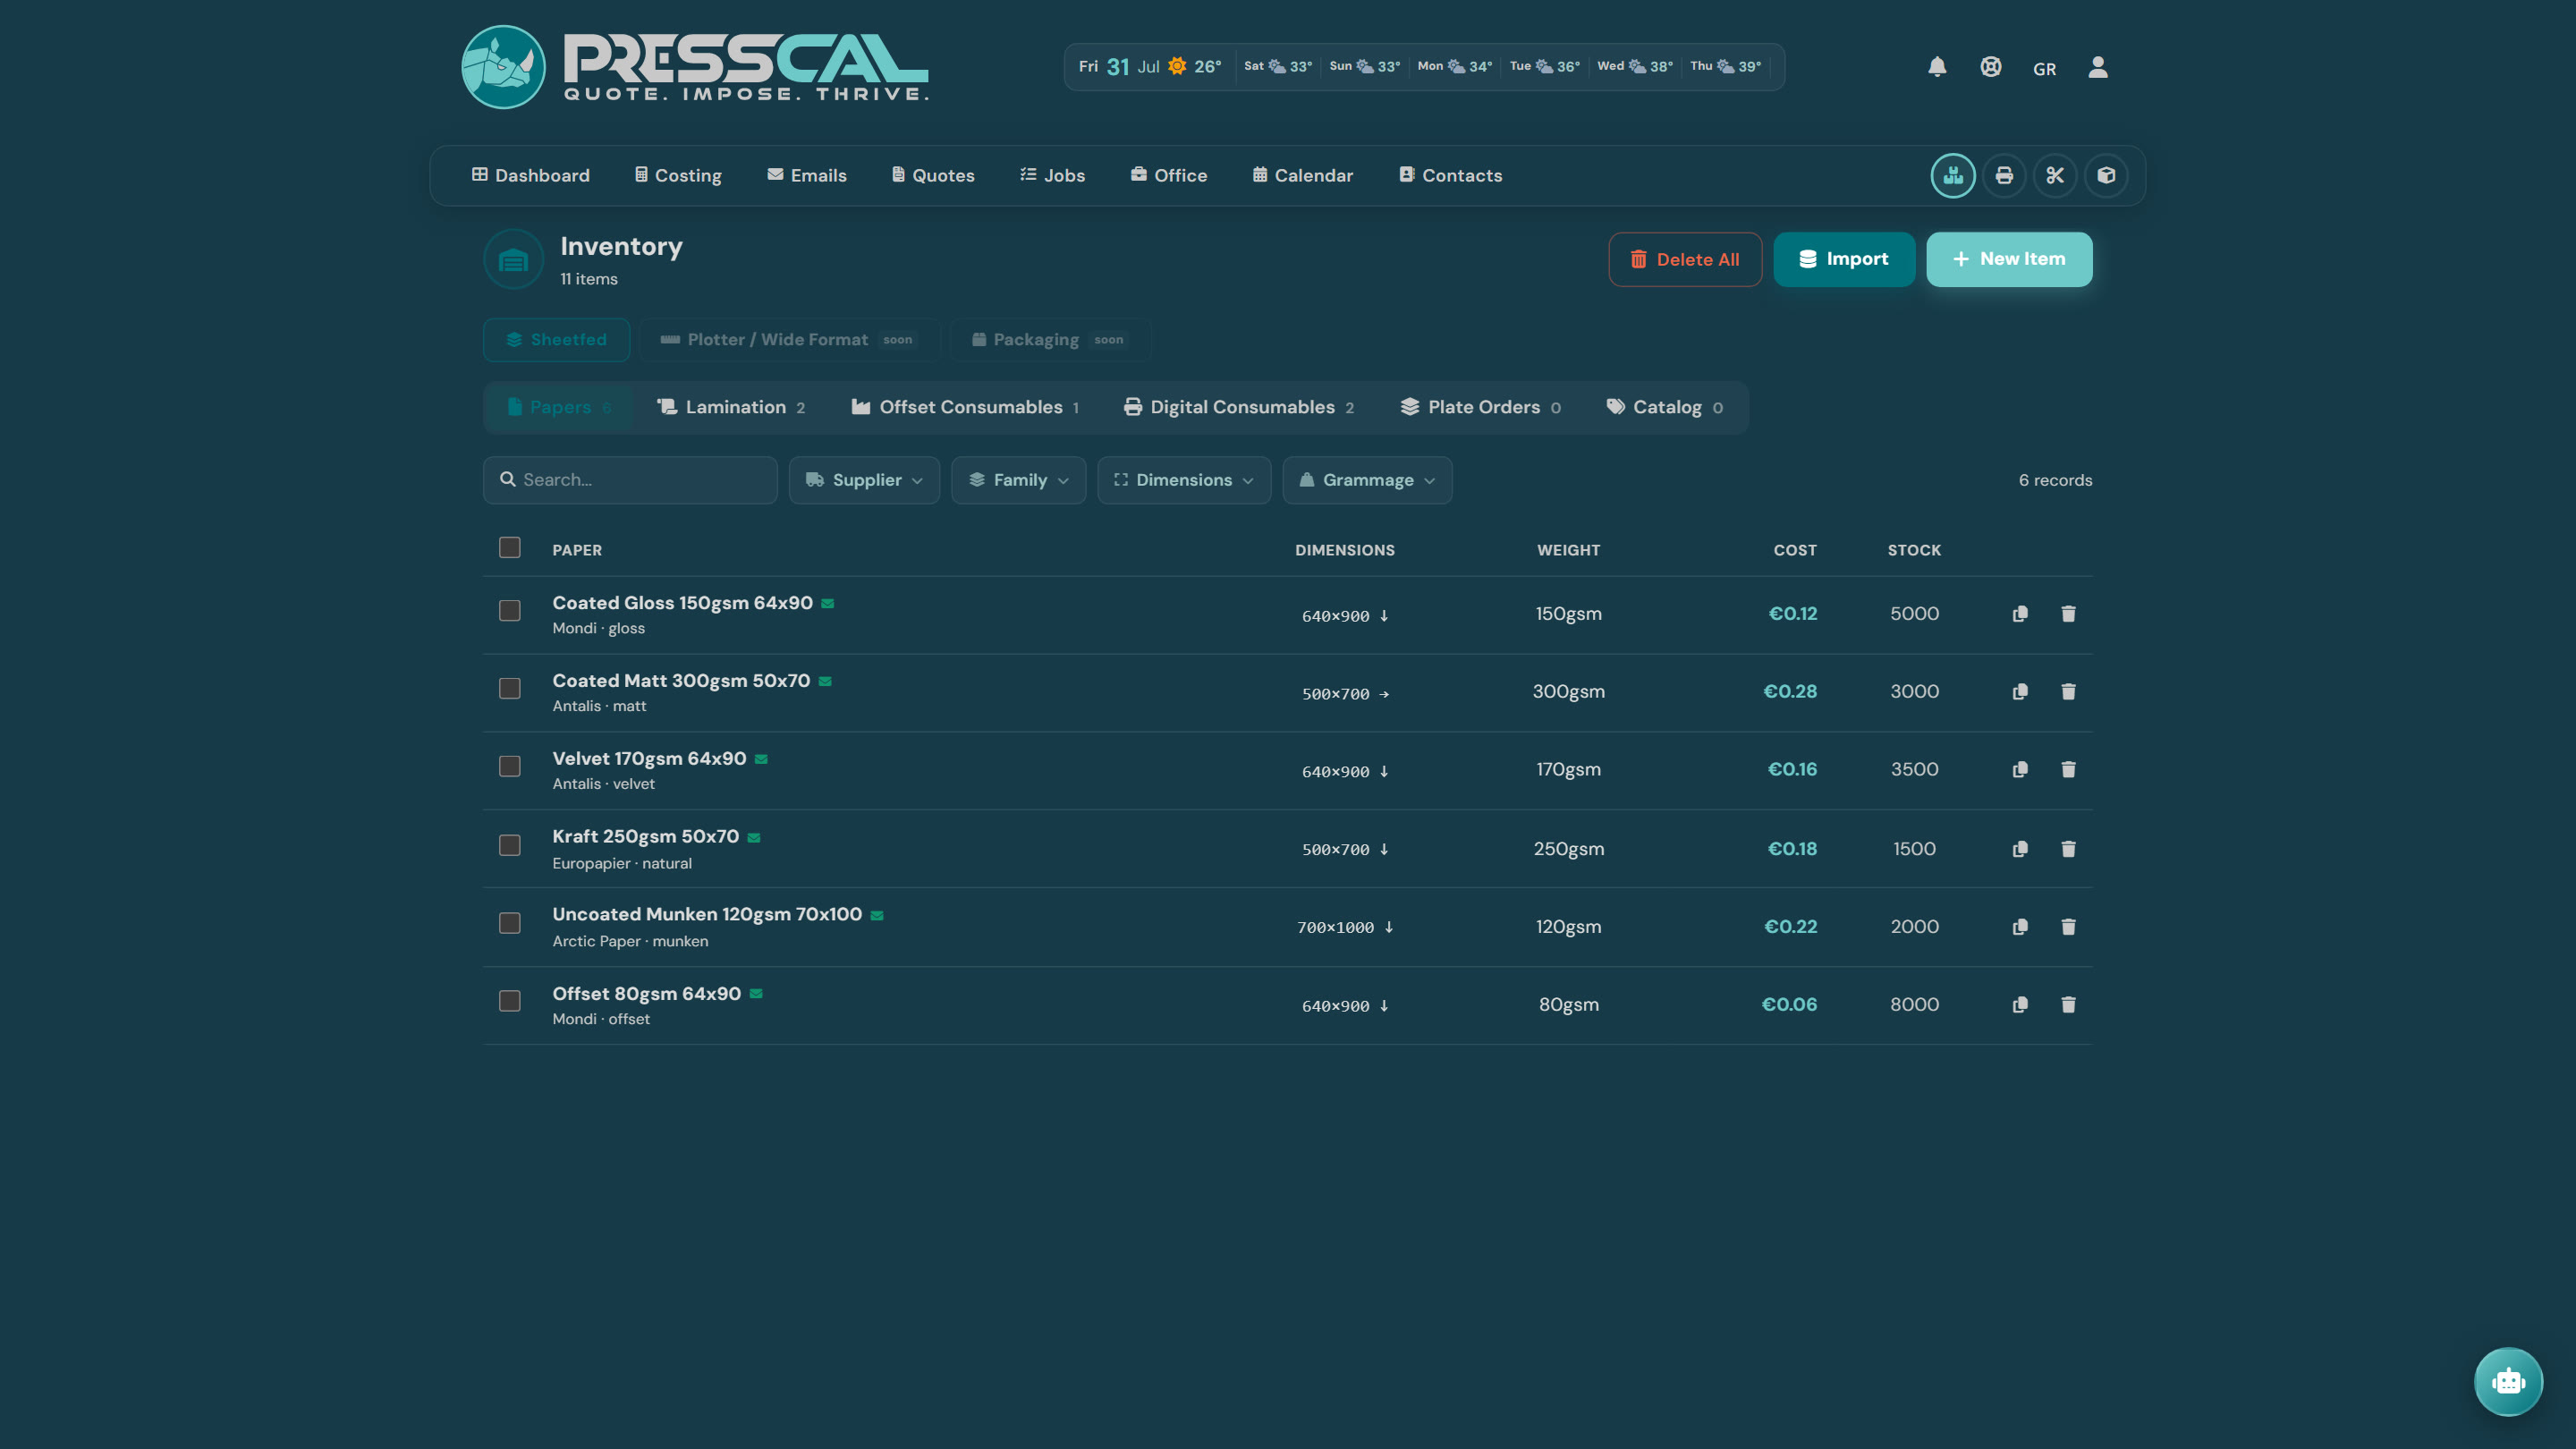
Inventory. Enter the papers you actually use: name, grammage, sheet size, purchase cost, supplier. You don't need the supplier's whole catalogue — the 10–15 papers that cover 90% of your work are plenty to start with.
6. Run a test costing (5 min)
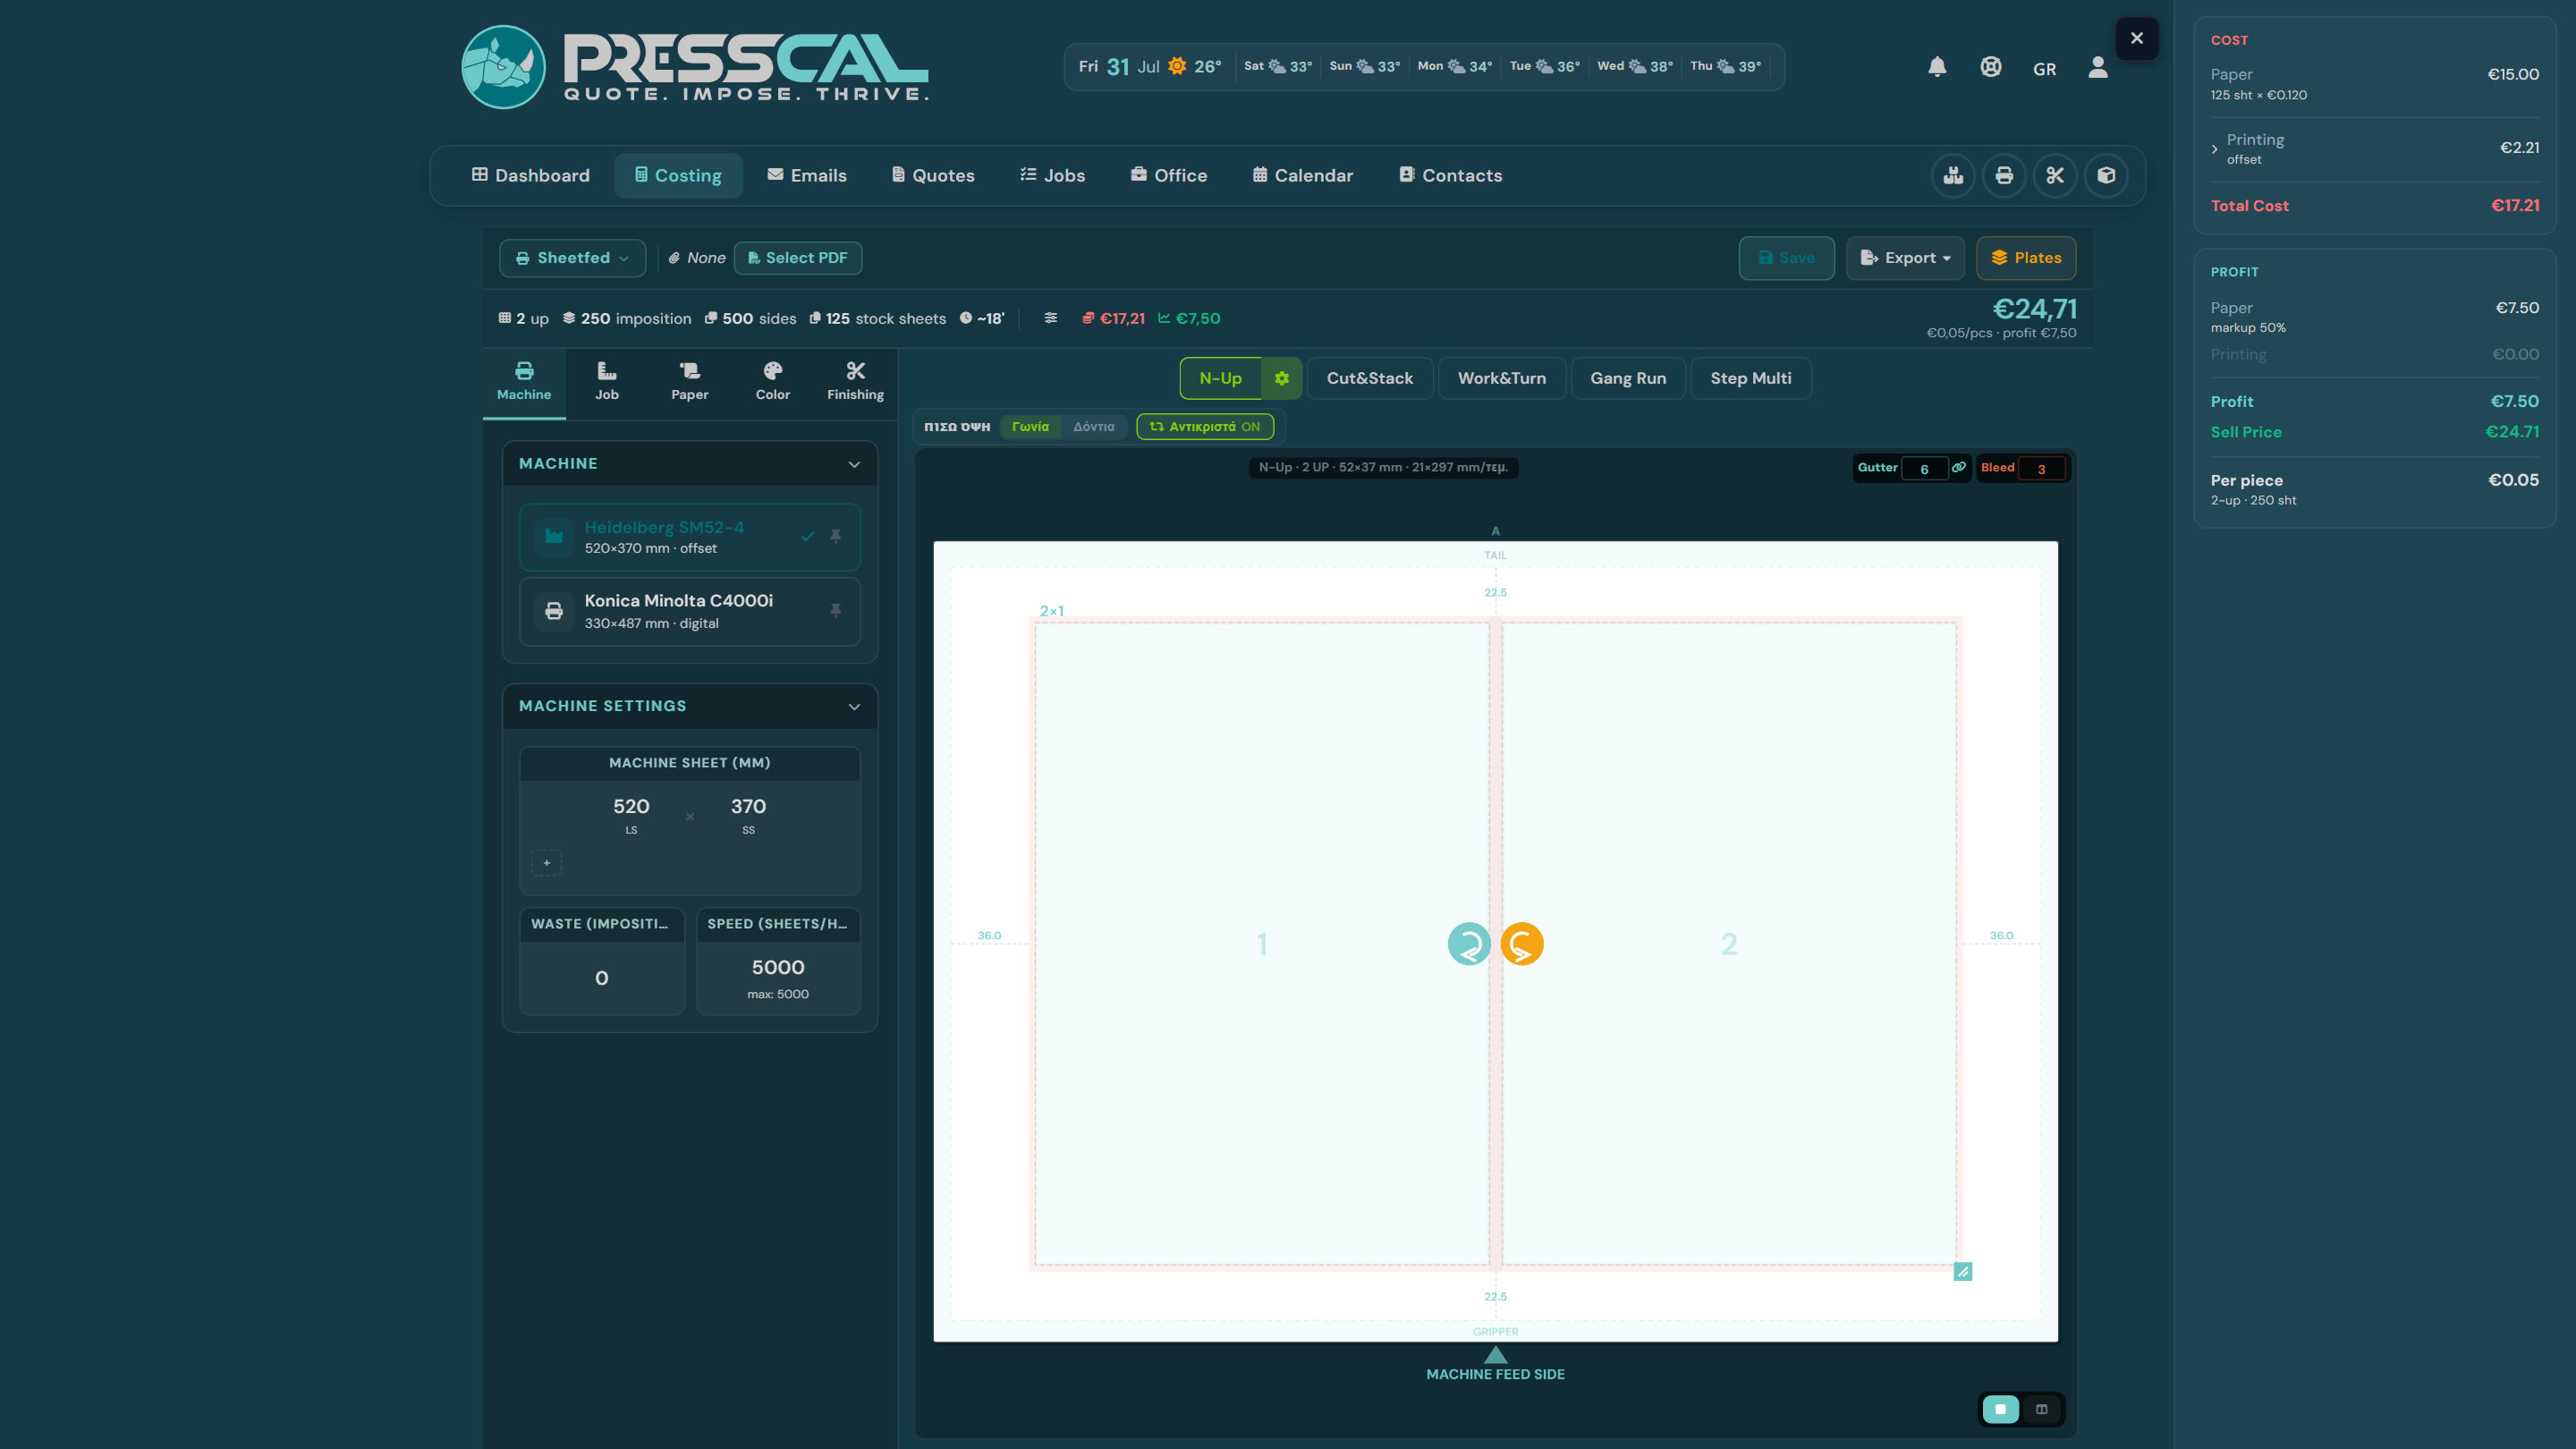
Open Costing and enter a job you know by heart — say 1,000 business cards on 350gsm. The calculator lays out the imposition on the sheet, counts sheets and clicks (or plates), and shows the full cost breakdown on the right: paper, printing, total cost, your markup, sell price.
Compare with the price you'd quote from experience:
- Looks right? Great — your setup works.
- Looks off? Open the cost breakdown and you'll see exactly which number needs a tweak — usually a click rate or a paper price.
7. Quotes at a glance
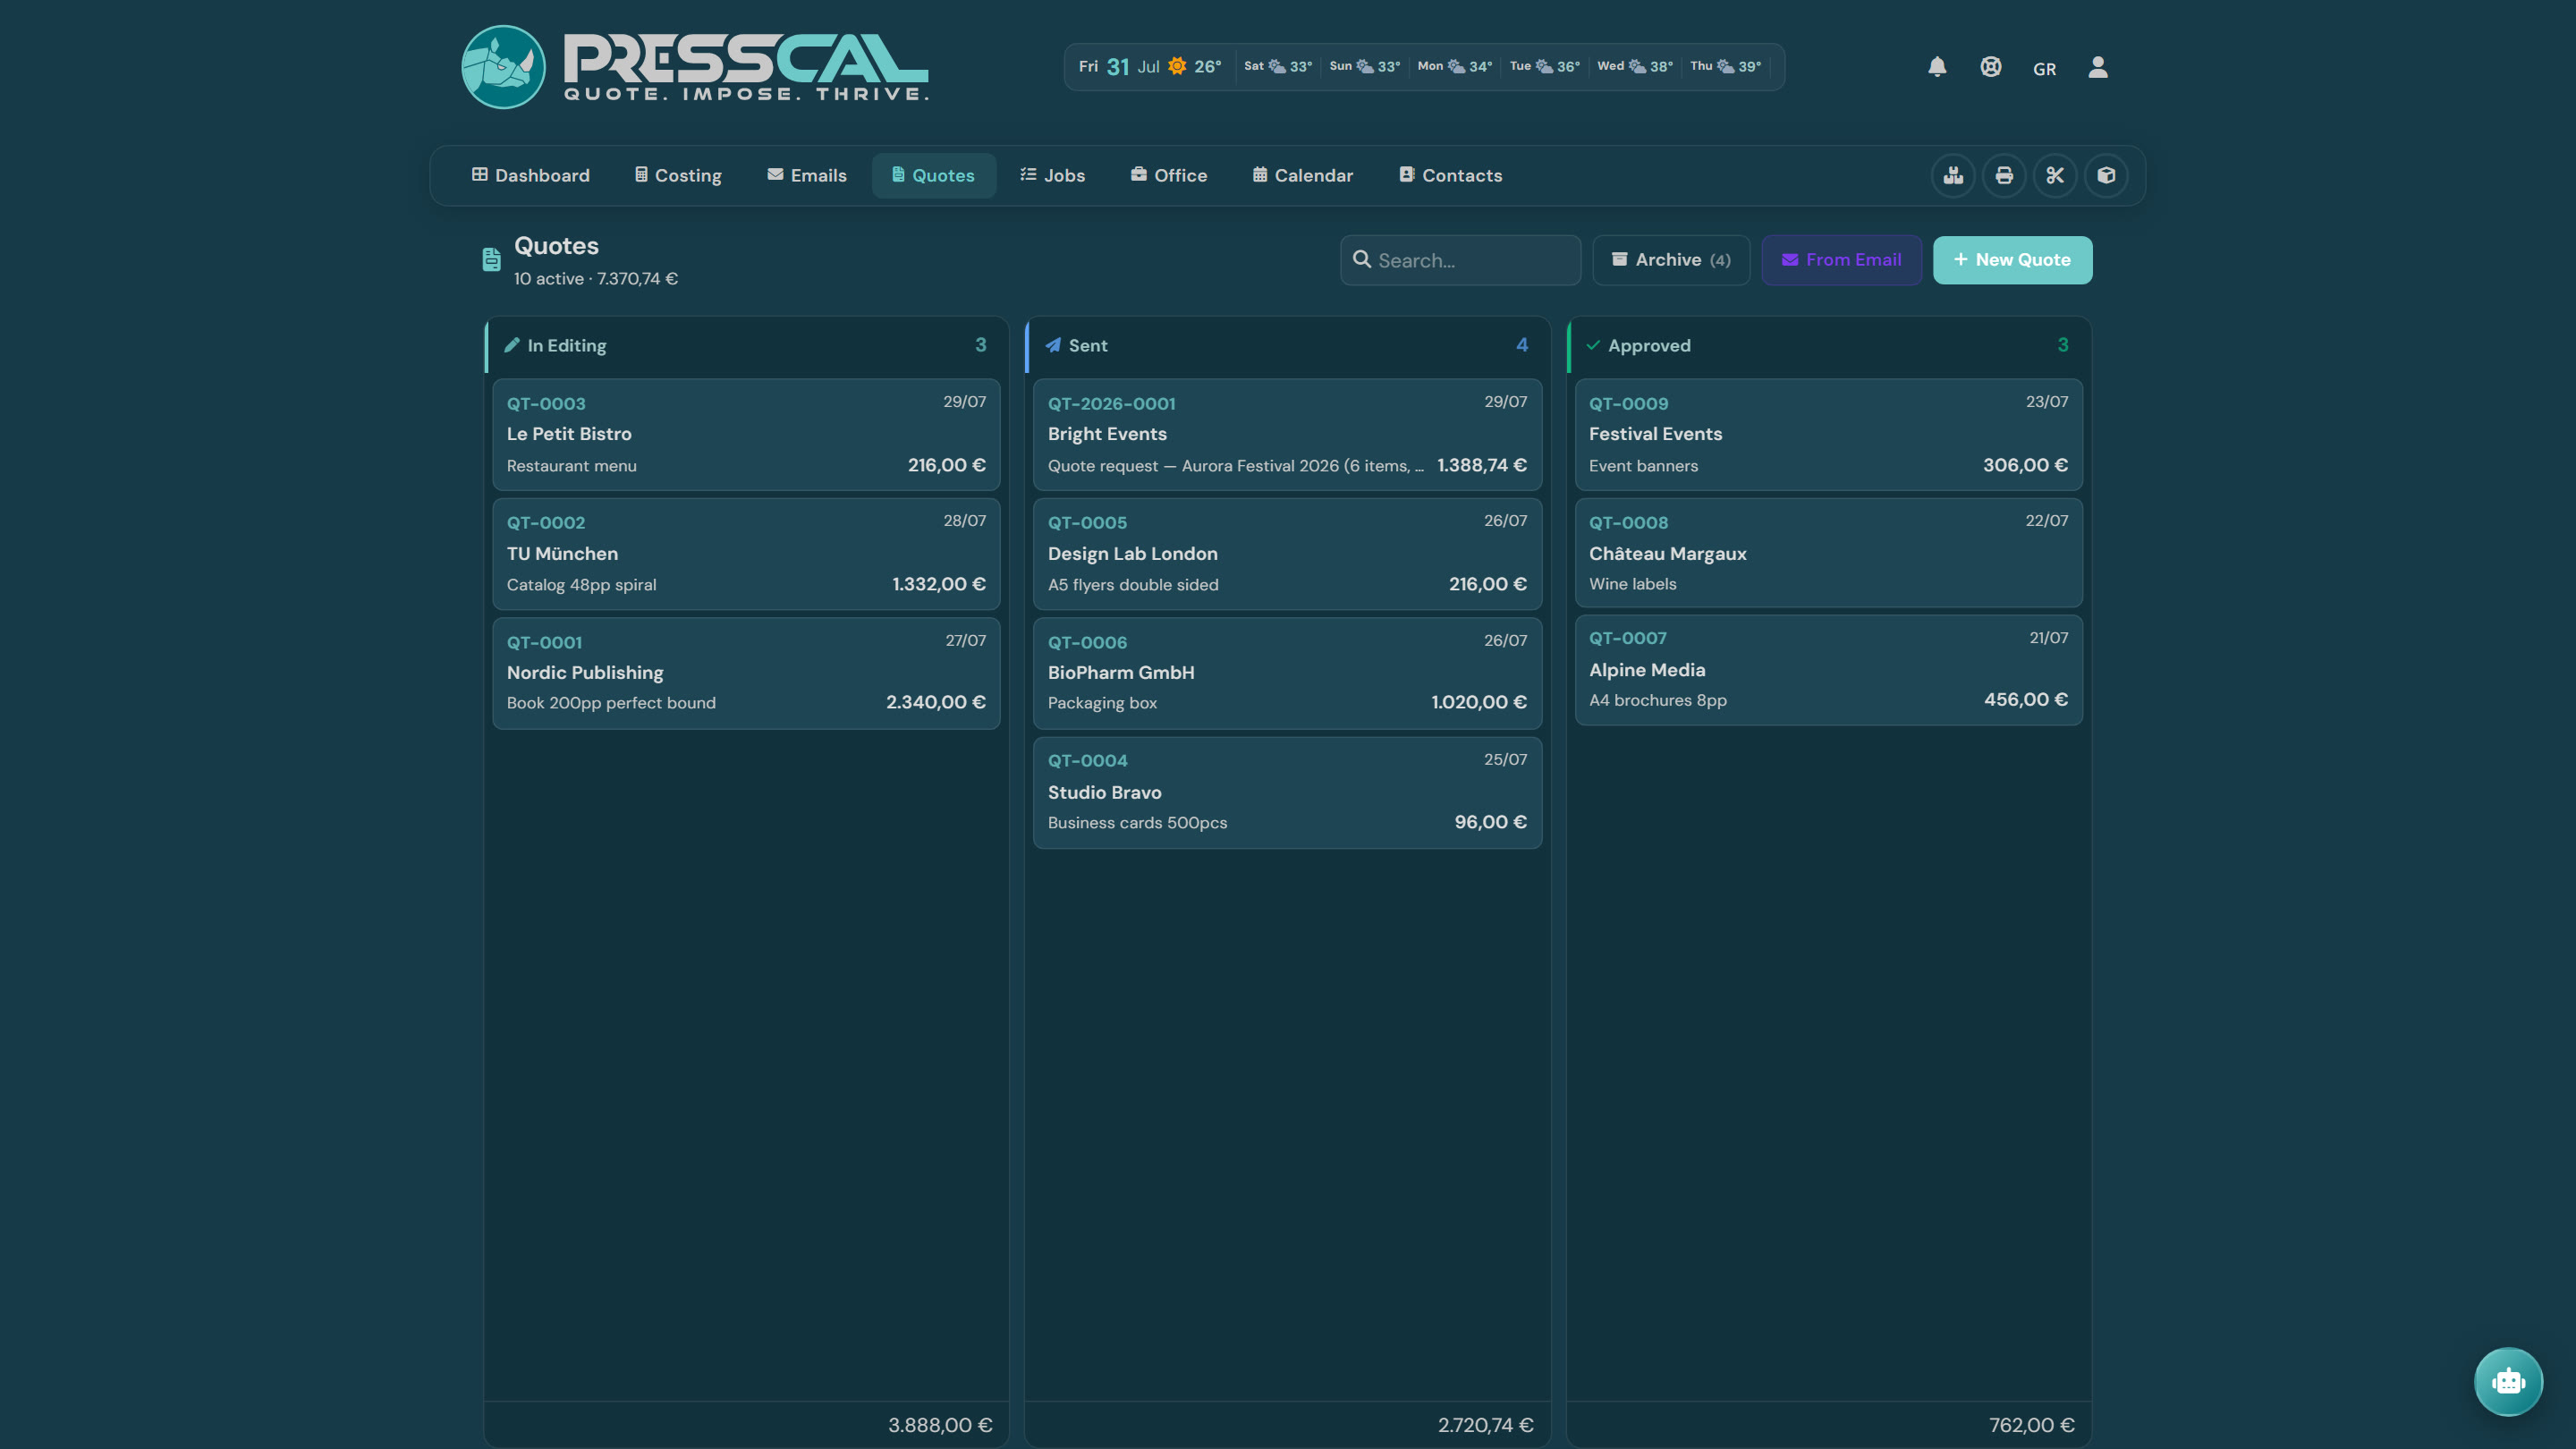
Every costing you save becomes a line on a quote, and quotes live on a board: In Editing → Sent → Approved. When a quote is approved it becomes a job and moves into production. The From Email button creates a quote straight from a customer email — the AI reads the request and drafts the line items for you.
8. Products — your recipes (optional)
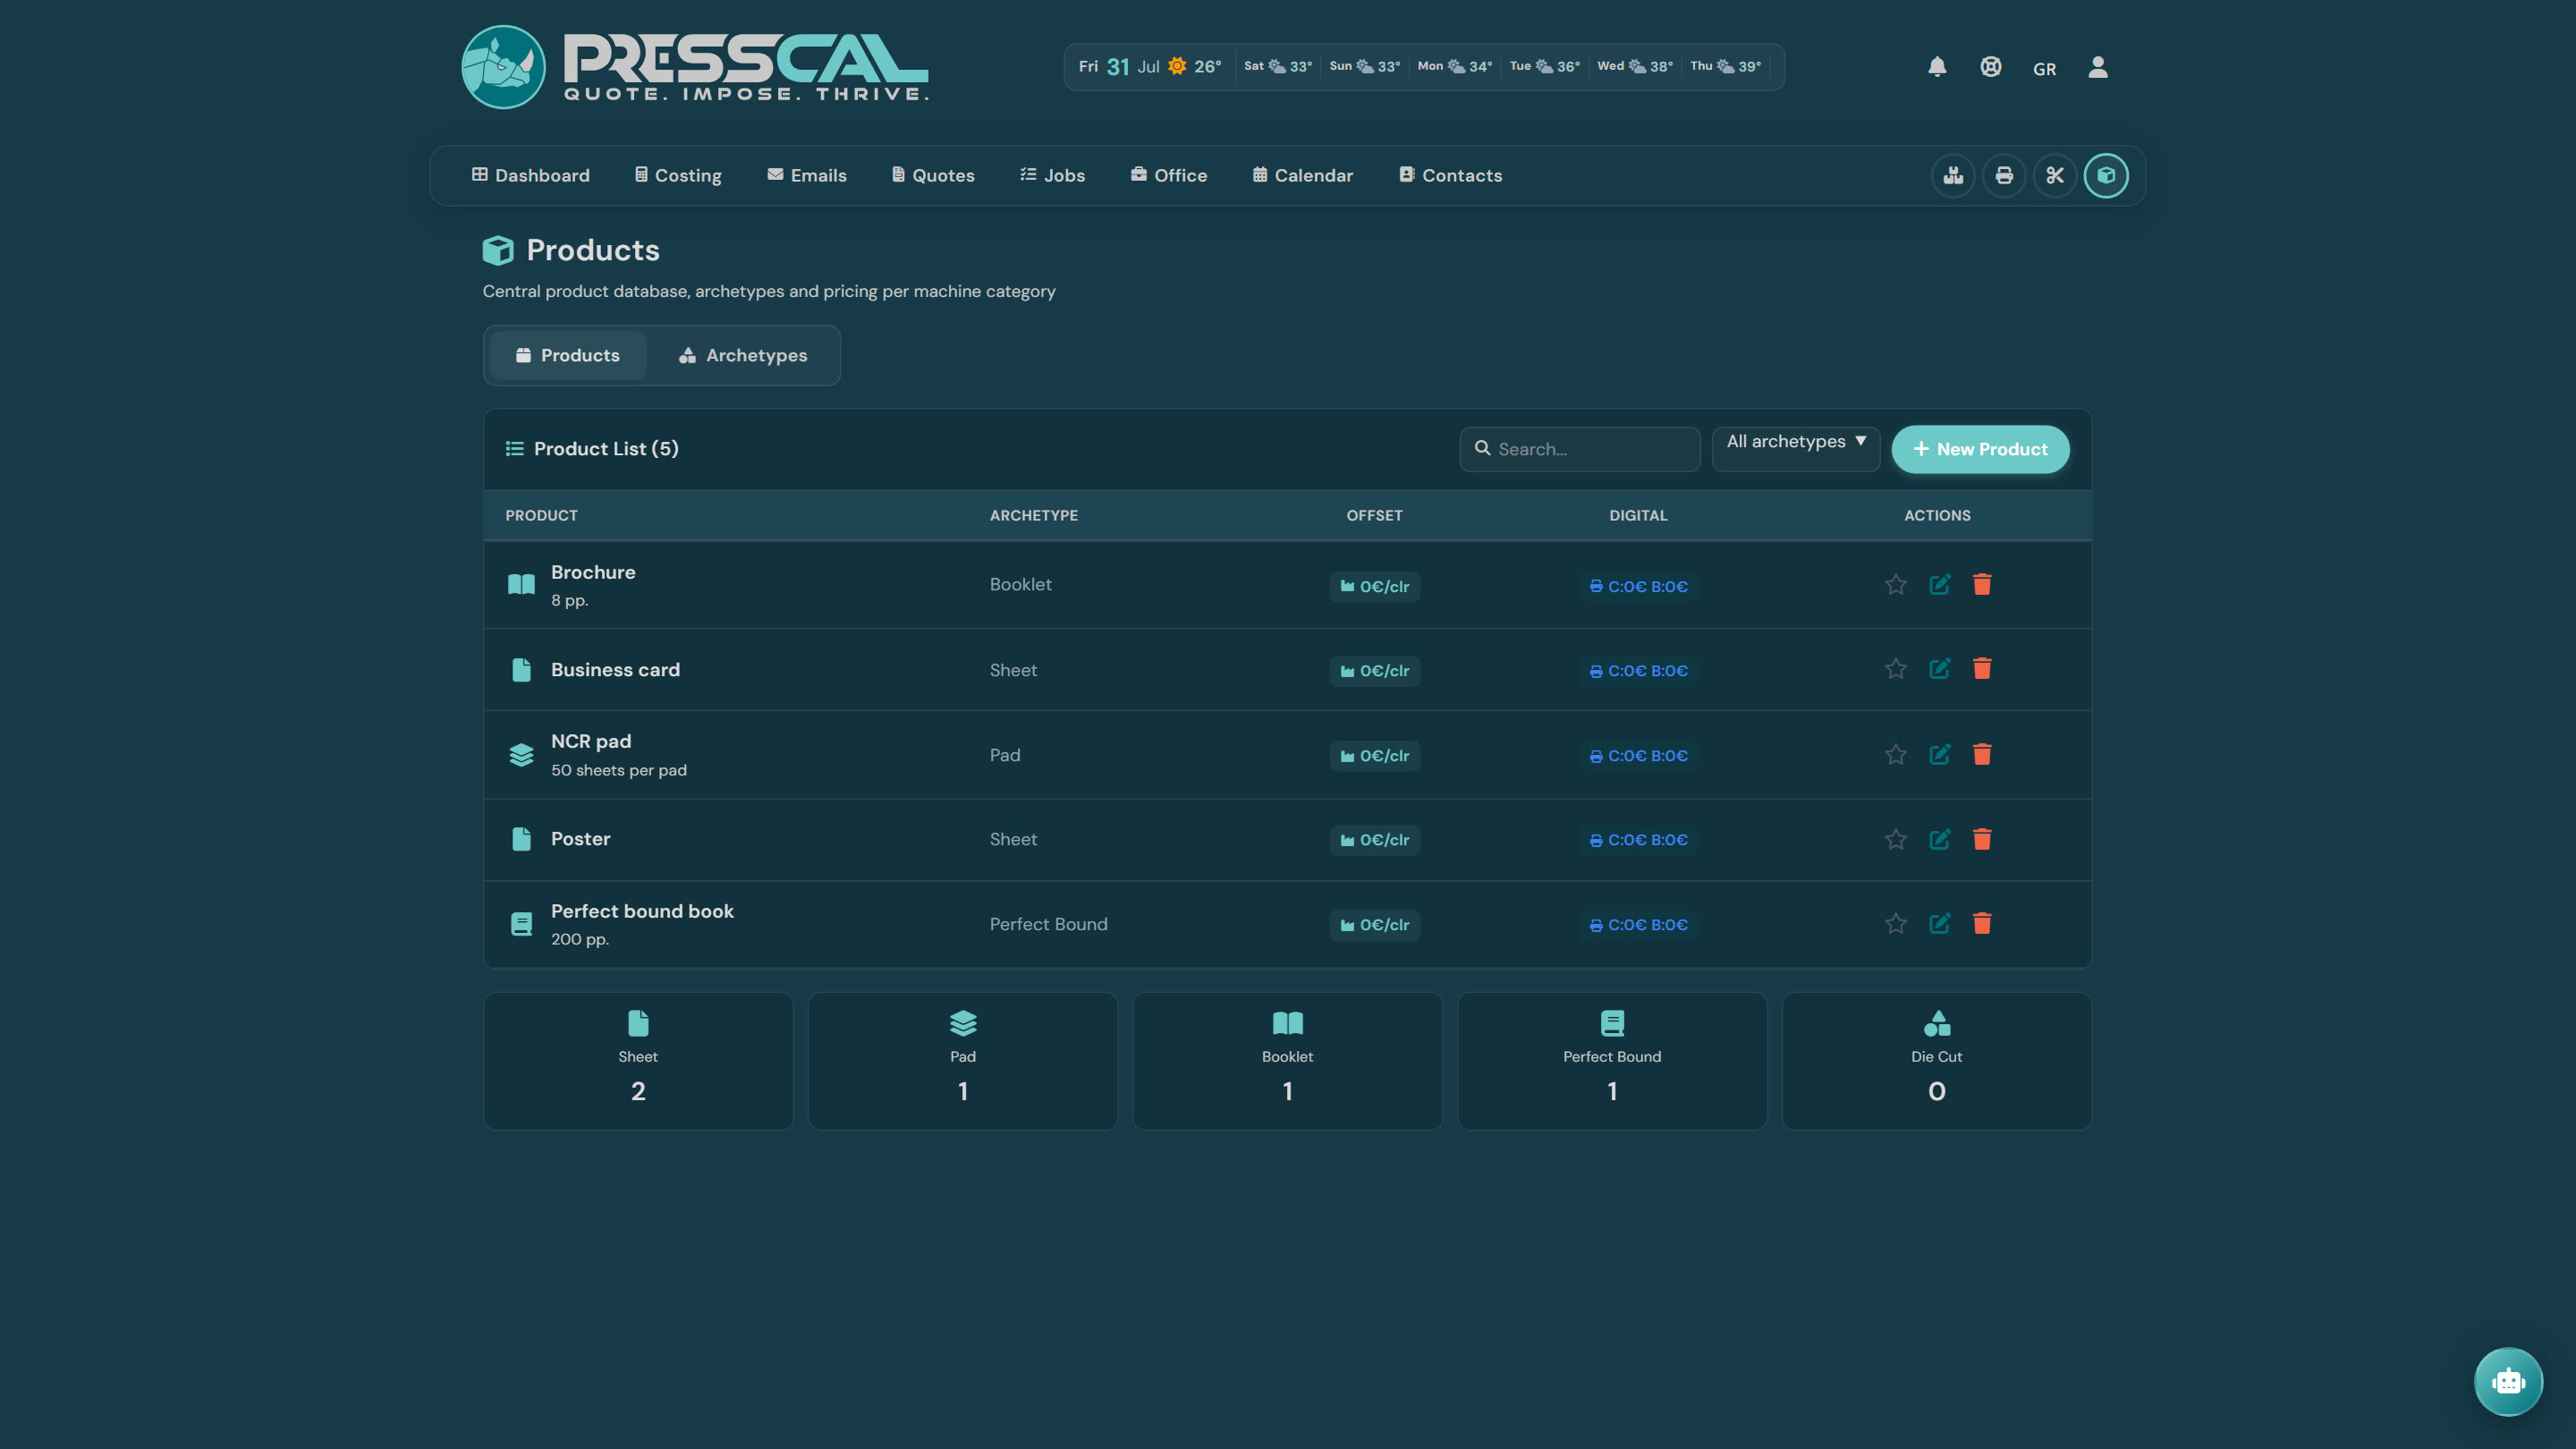
Products. For jobs you price again and again (business cards, flyers, brochures), save the whole setup as a product. Next time you pick it from a list and only change quantity and paper.
9. Work your inbox inside PressCal
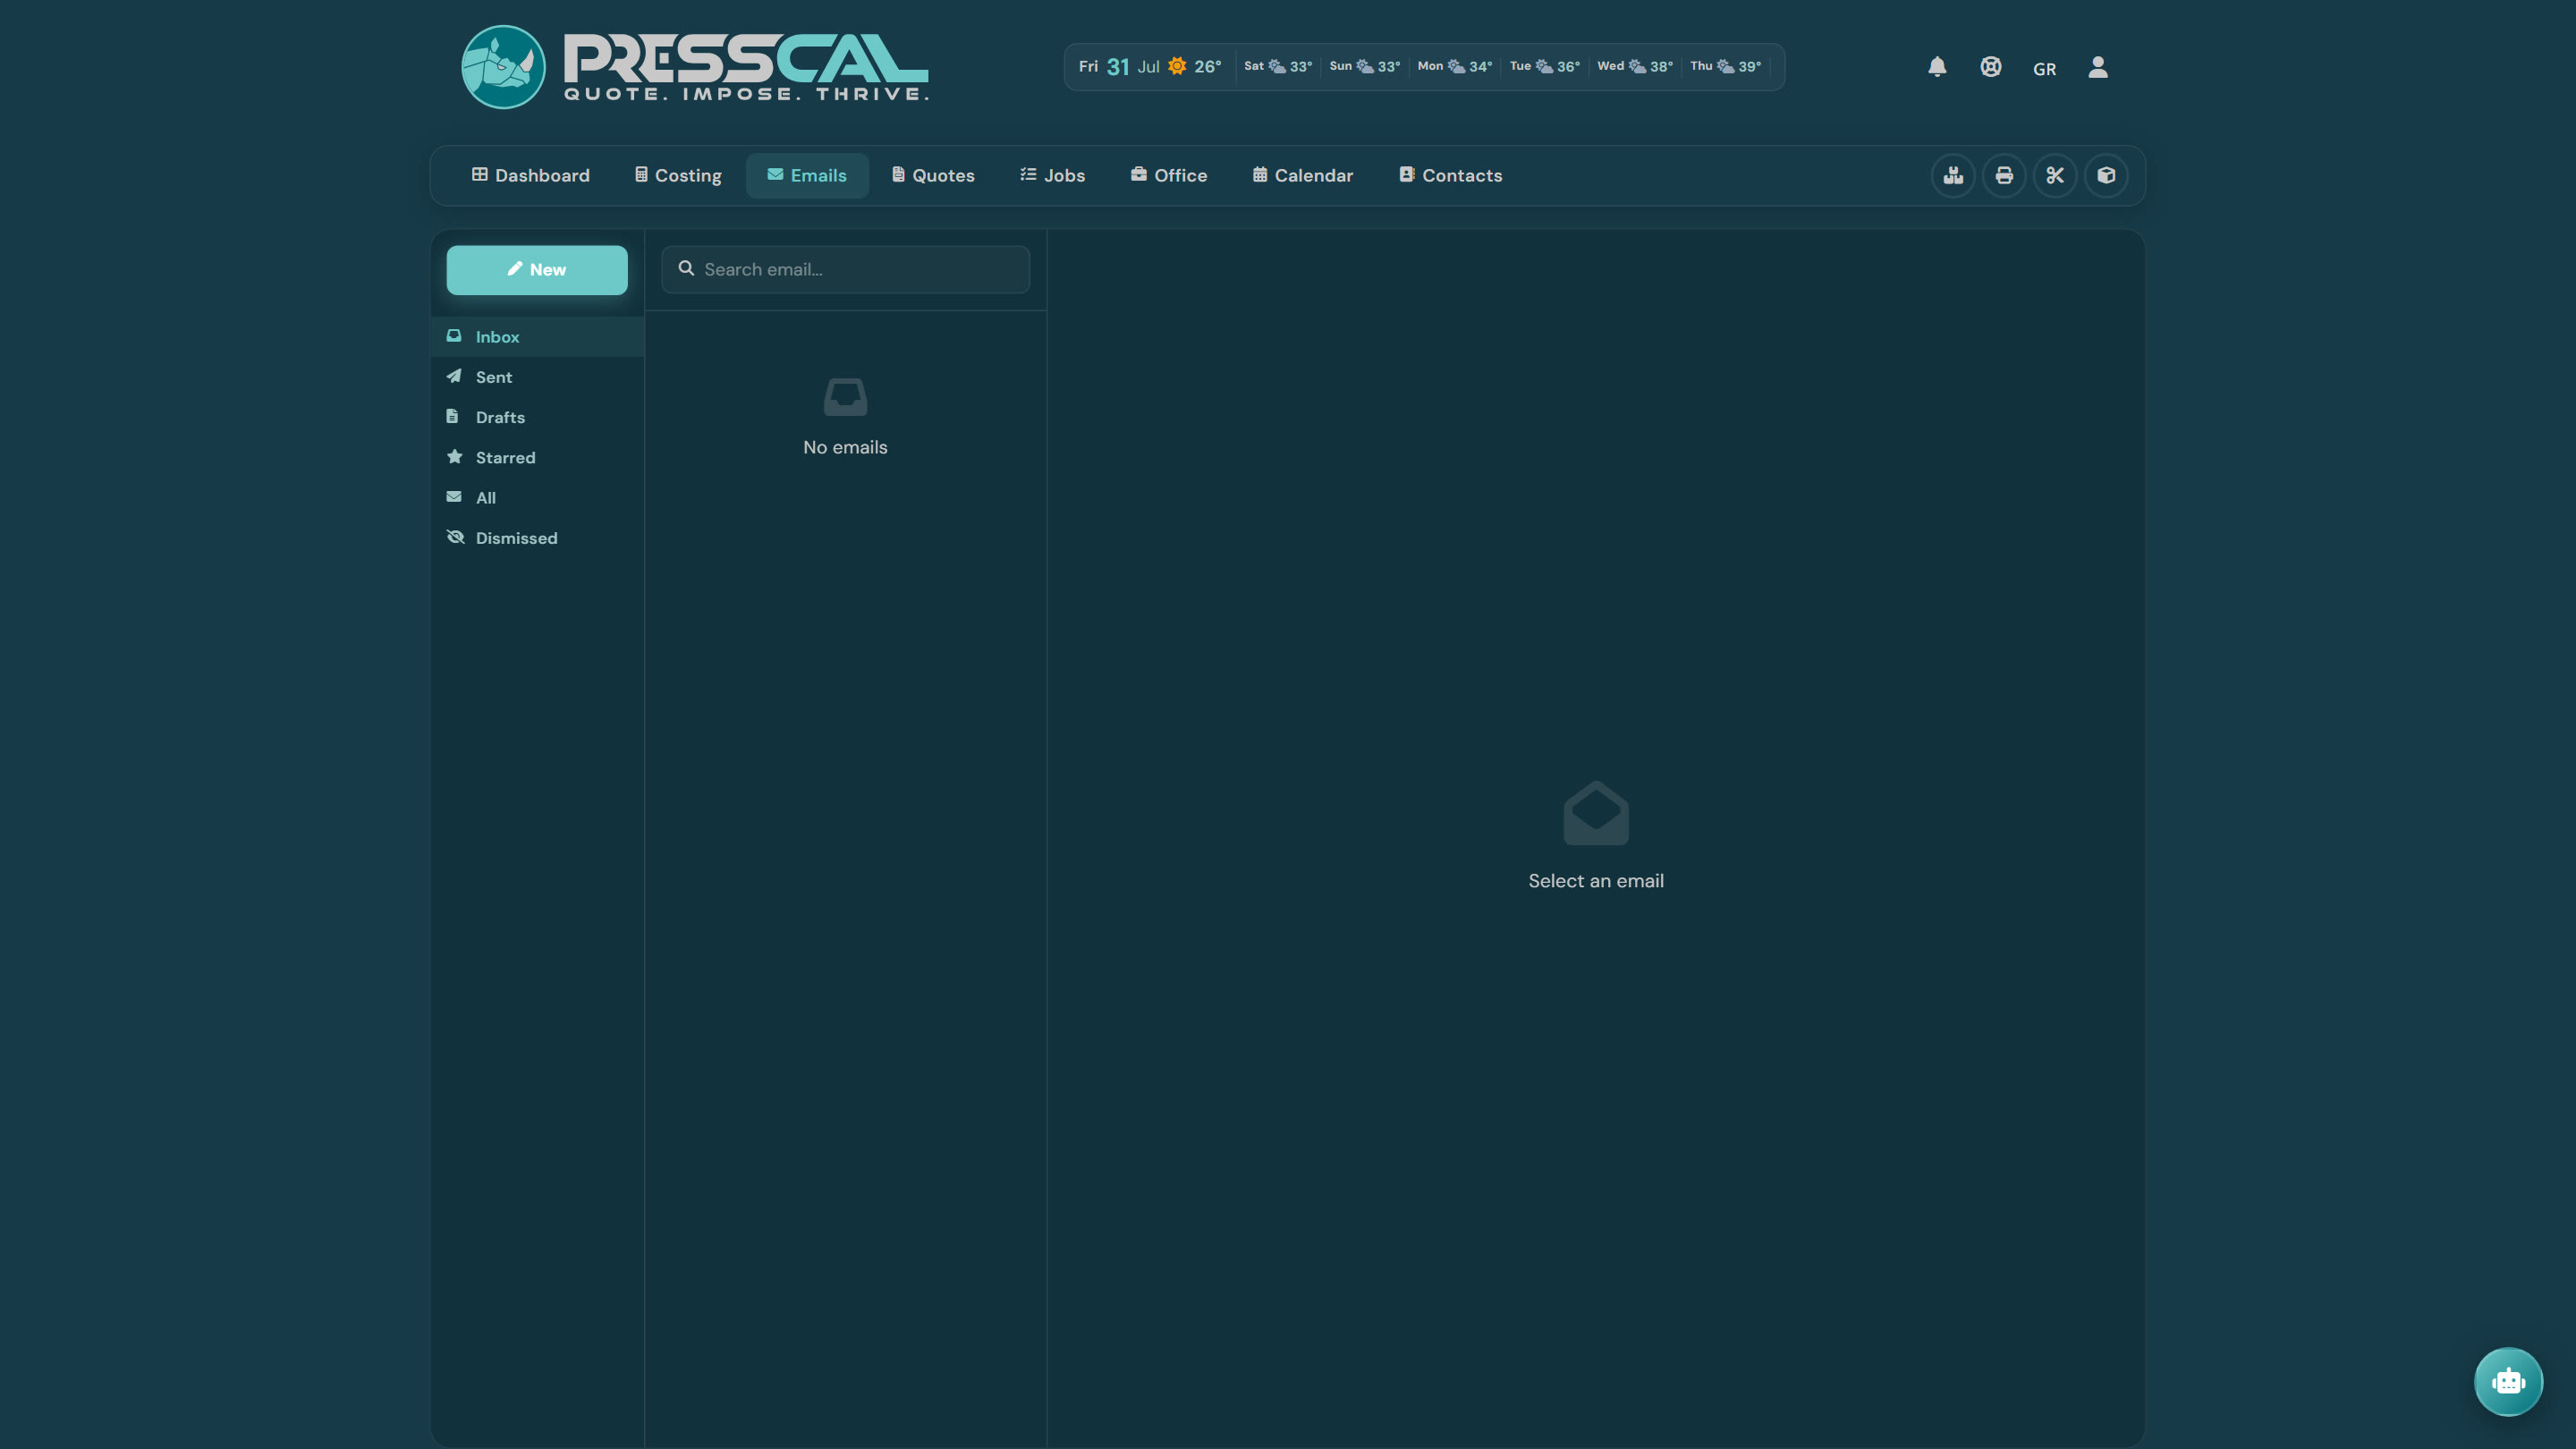
Emails brings your Gmail inbox into PressCal. Link an email to a quote and everything stays together: the request, the files, the thread. Contacts are created almost by themselves as you link emails to quotes — no need to type them in one by one.
10. PressKit — the bridge to your files (optional, recommended)
PressCal runs in the cloud, but your job files live on the shop computer. PressKit is the free Windows desktop app that connects the two: job folders created automatically when a quote is approved, email attachments downloaded to the right place, print-ready imposition PDFs exported in one click.
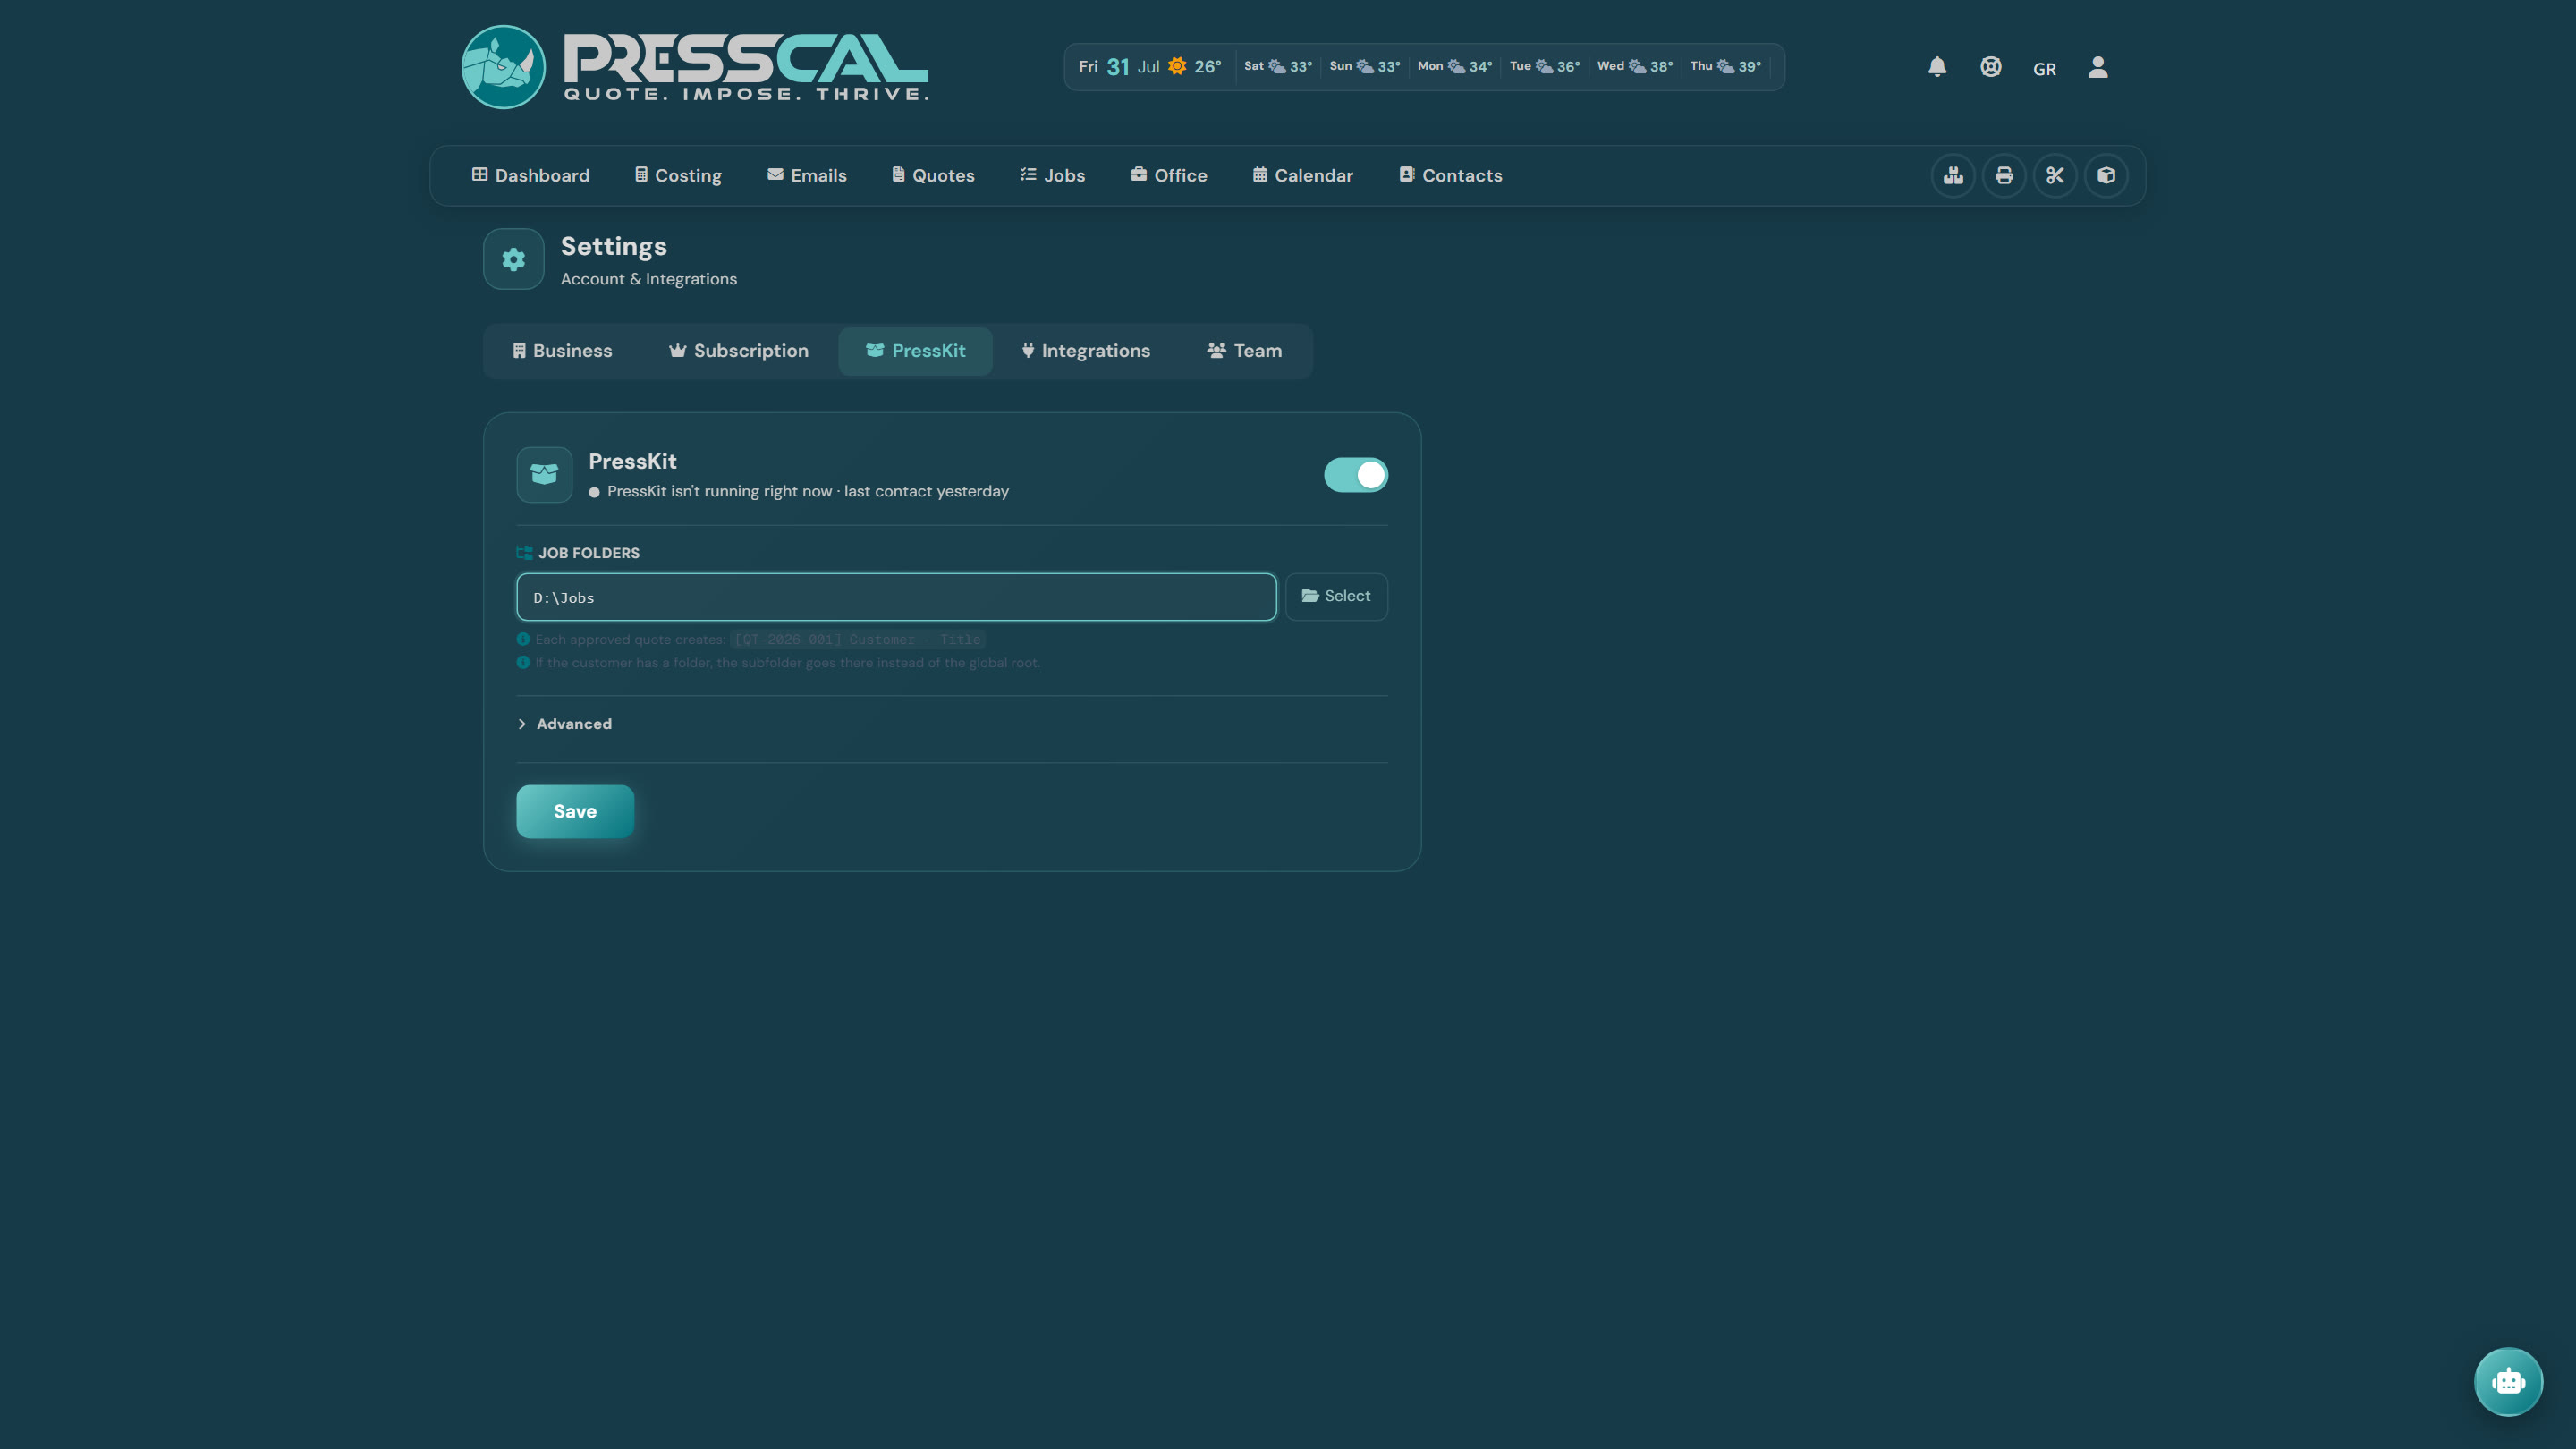
Set it up once: download PressKit from presscal.com/downloads/presskit, install it, then in Settings → PressKit switch it on and choose your job-folder root (e.g. D:\Jobs or a folder inside your Dropbox). Every approved quote gets its own folder in there, named after the customer and the quote number.
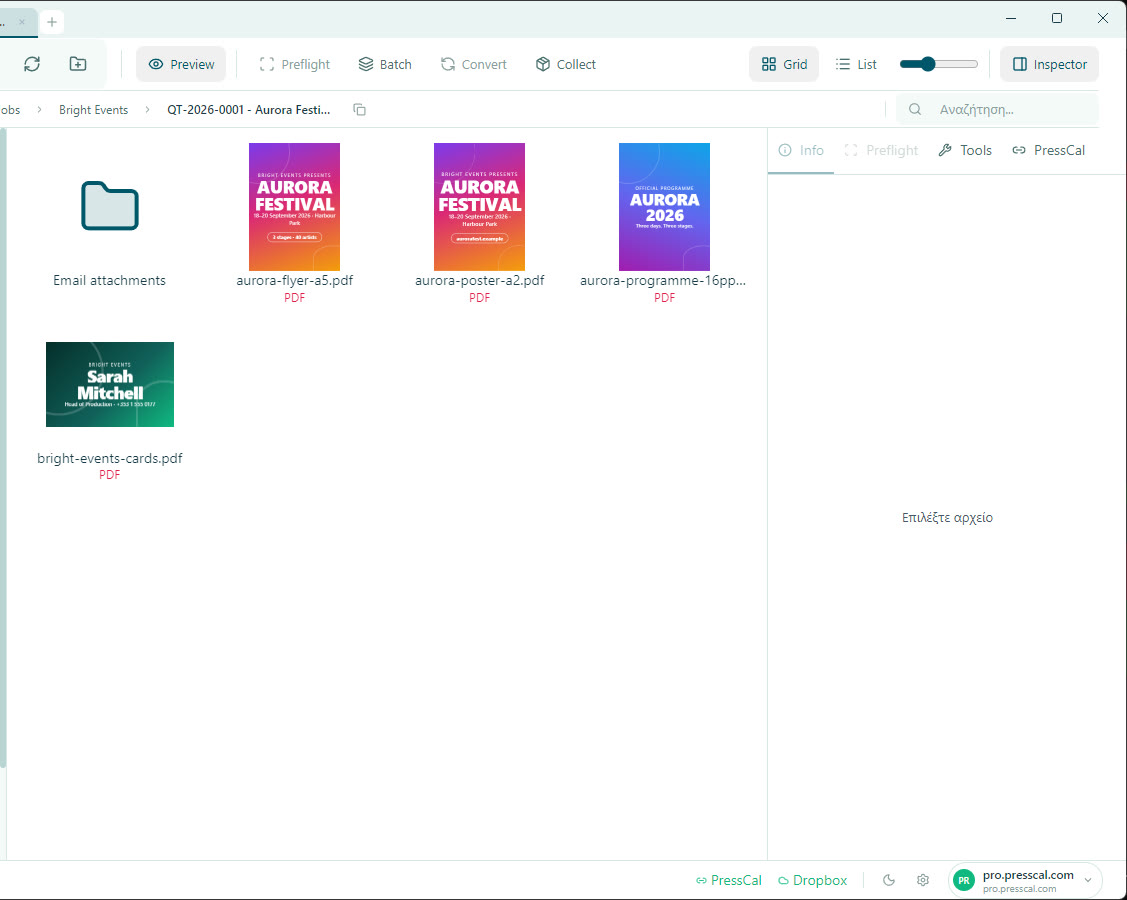
PressKit is also a fast file browser built for print work: PDF previews and thumbnails, preflight checks, and one-click links between a customer's PDF and the quote item — the calculator then reads size, pages, colors and bleed straight from the file.
Where to go from here
Don't try to make everything perfect on day one. Set up the basics, run 2–3 real jobs through, and adjust as you go — that's how you'll see what's missing in practice.